
Windows Screen Recording for AI Agents: How to Capture Desktop Workflows for Reliable Automation
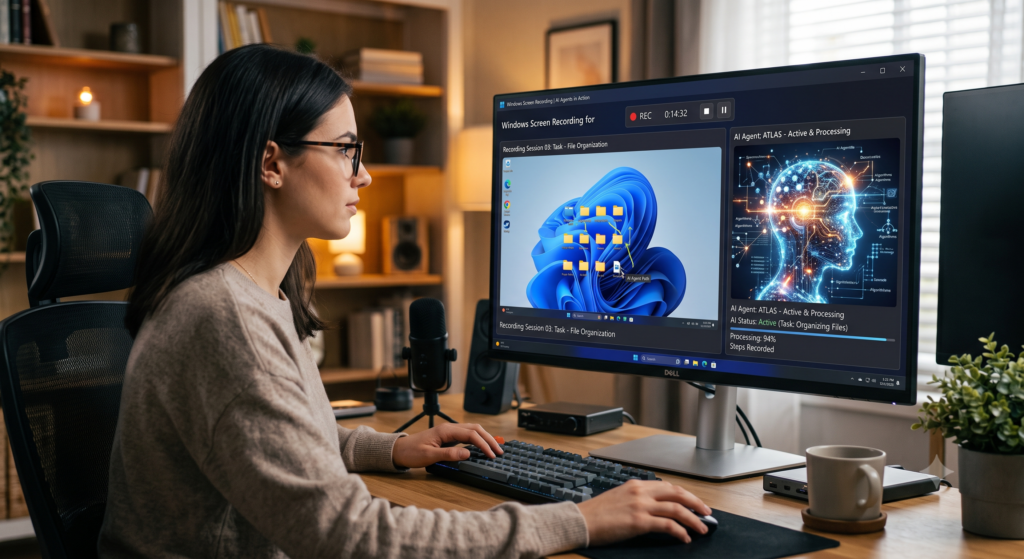
How Windows Screen Recording for AI Agents Supports Workflow Automation
Windows screen recording for AI agents captures how a desktop task is performed inside real applications. AI agents are software systems that can analyze a task, choose the next action, and interact with applications to complete a workflow. In this article, the term mainly refers to computer-use agents that interpret on-screen information and perform actions with a virtual mouse and keyboard.
For AI workflow automation, the recording is useful because it exposes details that may be missing from a short task description. It shows which application starts the process, what information is entered, when the user changes windows, which interface response is expected, and what visible result confirms completion.
The recording should not be treated as a video that automatically teaches an agent the entire task. Its main role is to give the team an accurate reference that can be converted into structured instructions, screenshots, rules, prompts, or an automation flow supported by the selected platform.
From a Recorded Demonstration to an Agent Specification
Consider a workflow in which an employee downloads an attachment from an email, extracts information from the document, creates a customer record in an internal platform, uploads the file, and saves the result.
For an AI agent, the team must define more than the general objective. The recording helps identify:
- the observable starting state;
- the applications and data sources involved;
- the action sequence the agent should follow;
- the decision rules for selecting fields, categories, or files;
- the interface response expected after each important action;
- the condition that confirms successful completion;
- the recovery action when the expected screen state does not appear.
For example, clicking “Save” is only an action. The actual completion condition may be a success message, a new record ID, a status change, or the appearance of the uploaded document. AWindows screen recordingmakes that distinction visible and helps the team define what the agent must verify before moving forward.
Using the Recording to Configure and Evaluate the Workflow
After reviewing the demonstration, the team can translate the process into smaller agent actions. These may include locating an interface element, entering a value, waiting for a page response, checking a confirmation signal, and deciding whether to continue or retry.
This is especially relevant for computer-use agents that work with graphical interfaces instead of relying entirely on APIs. During execution, the agent still analyzes current screenshots and selects its next action based on the live interface. The recording acts as a reference for defining the expected workflow rather than as the agent’s live visual input.
Windows screen recording can also support evaluation after the workflow has been configured. Teams can compare the original demonstration with the agent’s execution to determine whether it followed the correct path, handled decision points properly, and produced the expected result.
PixelTaken can be used to capture and share these desktop demonstrations before the workflow is configured or reviewed. In this role, screen recording connects human process knowledge with AI workflow automation, helping teams describe agent behavior in terms of observable actions, interface responses, and verifiable outcomes.
How Computer-Use Agents Read Screens, Interface Changes, and Desktop Actions
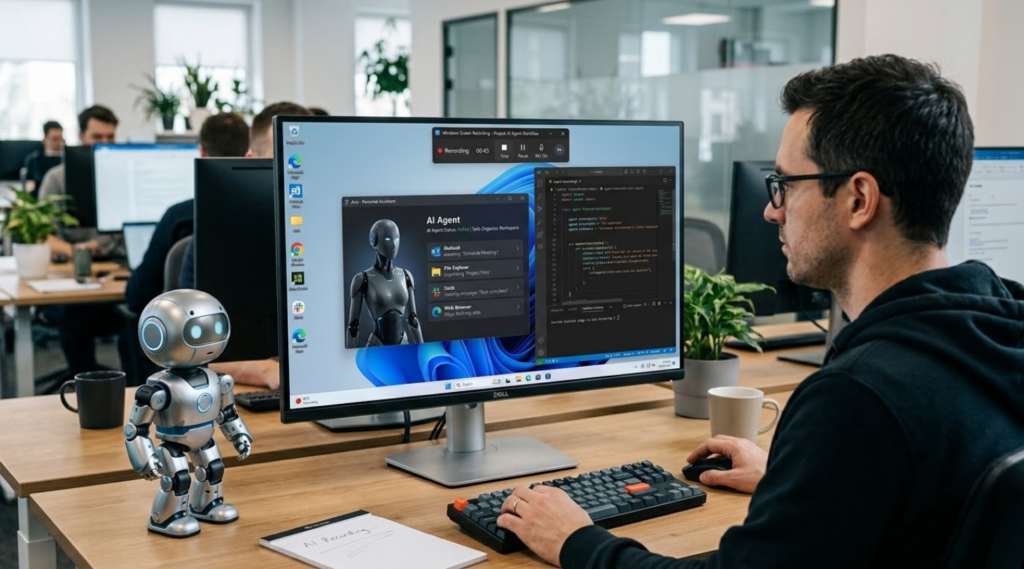
Computer-use agents interact with Windows applications differently from traditional automation tools. A fixed script may depend on predefined coordinates, interface selectors, or an API. A computer-use agent can instead analyze the current screen and choose its next action based on the task and the visible interface.
The agent receives a screenshot of the desktop or active application and identifies elements such as text, buttons, input fields, menus, icons, and dialogs. It then decides whether to click, enter text, scroll, press a key, wait for a response, or request an updated screenshot.
The Screenshot–Action–Screenshot Loop
Most computer-use agents work through a repeated cycle:
- capture the current screen;
- analyze the visible interface;
- select the next desktop action;
- perform the action with a virtual mouse or keyboard;
- capture the updated screen;
- verify whether the expected change occurred.
For example, an agent completing a data-entry task may locate a customer name field, enter the required information, and inspect the next screenshot to confirm that the value appeared correctly. It then continues only after recognizing the expected screen state.
This allows the agent to respond to the current interface instead of following a completely fixed sequence. When a page is still loading, a warning appears, or a new window opens, the agent can reassess the screen before selecting its next action.
Reading Interface Changes
Computer-use agents must recognize not only individual interface elements but also the changes caused by their previous actions. These changes may include:
- a menu expanding;
- a field becoming active;
- a new dialog opening;
- a loading indicator disappearing;
- a button changing state;
- a success message appearing;
- the application moving to the next workflow stage.
These visual signals help the agent determine whether an action succeeded. Clicking “Save”, for example, does not necessarily confirm that a record was created. The agent may need to detect a new record ID, a status update, or another visible response before continuing.
The agent must also distinguish between temporary and final states. A loading spinner indicates that the application is still processing the request, while a confirmation message may show that the task can proceed to the next stage.
Limits of Visual Desktop Interaction
Computer-use agents can interact with applications that do not provide a direct API, but visual desktop automation introduces uncertainty. Reliability may decrease when an interface contains:
- dynamically positioned menus;
- non-standard buttons or custom controls;
- unexpected pop-ups;
- similar-looking interface elements;
- delayed responses;
- layout changes between application versions;
- low-resolution or visually crowded screens.
For example, a date picker may display differently after an application update, or a pop-up may cover the button the agent expected to select. In such cases, the agent must reassess the current screen rather than continue with the original action sequence.
Stable layouts, clearly labeled controls, and visible status changes generally make computer-use workflows easier to interpret. Workflows with frequent interface changes require more detailed instructions, stronger validation conditions, and defined recovery actions.
Windows screen recording gives teams a reference for identifying the interface states and transitions an agent must recognize. During execution, however, the computer-use agent still relies on current screenshots to decide what to do next.
How to Screen Record on Windows for AI Agent Workflows
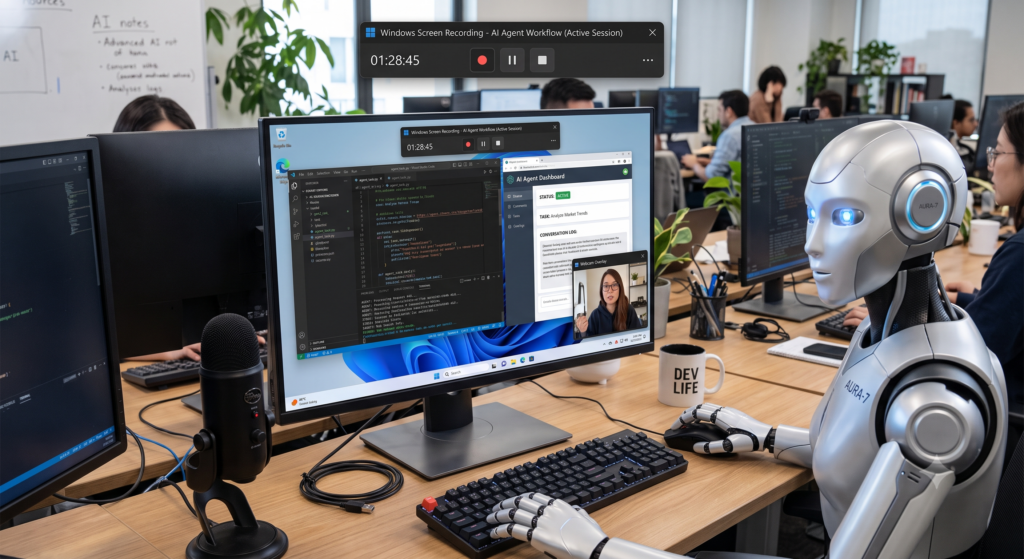
Knowing how to screen record on Windows for an AI agent workflow starts with narrowing the demonstration to one specific task. Instead of recording a general overview of an application, capture a complete process with a defined scope, such as updating a customer record, processing an invoice, or transferring information between two systems.
The purpose is to preserve the parts of the workflow that will later need to be described, configured, or reviewed. Every required action should remain visible, while unrelated desktop activity should stay outside the recording.
Choosing a Windows 11 Screen Recorder
The right Windows 11 screen recorder depends on the applications involved and the amount of visual context the workflow requires.
Windows users can choose between built-in tools and dedicated recording applications:
- Snipping Tool can record a selected screen area;
- Xbox Game Bar can capture activity inside an application;
- Clipchamp combines screen capture with basic editing;
- PixelTaken supports fullscreen, window, custom-area, and individual-monitor recording.
Each option can suit a different workflow. A short task inside one application may require only a selected-area or window recording. A process that moves between a browser, email client, document viewer, and internal platform may need a wider capture area or single-monitor recording.
Dedicated Windows screen recording software can also provide additional control over what appears in the demonstration. PixelTaken, for example, allows the user to include the cursor, microphone, system sound, or webcam and to save the result locally, upload it to the cloud, or use both options.
These settings should be selected according to the workflow rather than enabled by default. The cursor is useful when click targets and navigation paths matter. Microphone commentary can clarify decision logic or exceptions, while a webcam is usually unnecessary unless the person’s presence adds relevant context. Audio capture is covered in more detail in the next section.
Selecting the Recording Area for the Workflow
The capture mode should preserve all interface context needed to understand the task:
- Area recording works when the entire process remains inside one stable section of the interface.
- Window recording is suitable when the workflow stays within one application.
- Single-monitor recording is useful when the user moves between several applications on the same display.
- Fullscreen recording may be required when system menus, desktop-level dialogs, or applications on different parts of the screen are involved.
An area that is too narrow may exclude a dropdown, confirmation panel, or application switch. A capture that is too broad can include notifications, unrelated windows, and information that does not belong to the workflow.
The correct mode is therefore the smallest recording area that still preserves every required interaction and visible result.
Preparing the Windows Desktop
Before starting Windows screen recording, open the workflow at its actual starting point and prepare the required applications, files, and sample data.
Close unrelated windows, disable distracting notifications, and remove confidential information that should not appear in the video. Keep browser zoom, display scaling, and application window positions consistent so that the interface does not change unexpectedly during the demonstration.
Use representative sample data rather than real passwords, payment details, personal messages, or customer records. More detailed privacy and data-handling requirements will be covered later in the article.
How to Screen Record on Windows 11
When learning how to screen record on Windows 11 for an AI workflow demonstration, follow a controlled sequence:
- Open the first application or page required for the task.
- Select the window, monitor, screen, or custom area that contains the complete workflow.
- Start recording before the first required action.
- Perform each action once and at a steady pace.
- Keep the cursor visible when its position helps explain the interaction.
- Pause briefly after opening menus, switching applications, or submitting information.
- Allow temporary system responses to finish before continuing.
- Keep the final result visible long enough to review.
- Stop the recording and check that all text, controls, and cursor movements are readable.
When using a screen recorder for Windows, avoid repeated clicks, unnecessary mouse movement, and unrelated navigation. They can make it harder to distinguish the required process from accidental actions.
The final video should make the workflow understandable without requiring the viewer to guess which action occurred or whether it succeeded. It should show the complete task with enough context to identify every required interaction while excluding unrelated desktop activity.
Voice and System Audio Settings for Windows 11 Screen Recording in AI Workflows
Audio can preserve workflow information that is not visible from interface actions alone. InWindows screen recordingfor AI workflows, microphone and system audio should be enabled only when they explain a business rule, exception, application response, or decision that cannot be understood reliably from the screen.
Using Voice Instructions to Explain Decision Logic
Microphone recording is useful when a workflow includes reasoning that remains hidden behind a visible action. The recording may show which option a user selects, but not why that option is correct.
For example, an employee may assign “High Priority” to a customer request. The interface records the selection, while a short voice explanation preserves the underlying rule:
Select High Priority when the issue affects an active customer account and requires resolution within one business day.
Voice commentary can clarify:
- why a particular category or status is selected;
- when a step should be skipped;
- which conditions require human approval;
- how normal and exceptional cases differ;
- what to do when information is missing;
- when the workflow must stop instead of continuing automatically.
The narrator should focus on information that is not already obvious from the screen. Statements such as “I am clicking Save” add little value when the action is clearly visible. A more useful explanation would describe what must be verified after saving or what should happen when the expected confirmation does not appear.
Voice instructions should also be concise and timed to the relevant part of the workflow. Explaining a rule several steps before or after the related action can make it difficult to connect the narration with the correct field, decision, or application state.
When to Screen Record Windows with Audio
Users who need to screen record Windows with audio should distinguish between microphone input and system audio because they capture different types of context.
Microphone audio records the user’s explanation of the process. It is most valuable for decision rules, manual checks, exceptions, and approval conditions.
System audio records sounds produced by Windows or an application. It may matter when the workflow includes:
- a notification sound that indicates success or failure;
- a recorded customer message;
- spoken content that must be reviewed or classified;
- audio from a support call or meeting;
- an accessibility prompt;
- an application alert with operational meaning.
System audio is unnecessary when the workflow depends entirely on visible information. Background music, unrelated notifications, incoming messages, and sounds from other applications can distract from the actual process and make the recording harder to interpret.
A Windows 11 screen recorder should therefore be configured according to the task:
- enable the microphone when spoken reasoning adds necessary information;
- enable system audio when sound is part of the workflow or confirms an application state;
- use both sources when the user must comment on audio content while it plays;
- disable both when the process can be understood completely from the screen.
When microphone and system audio are recorded together, make a short test before starting the workflow. The narration should remain clear without completely covering application sounds that carry relevant information. The user should also avoid speaking over short alerts, recorded messages, or other audio signals that need to be reviewed later.
In PixelTaken, microphone input and sound from speakers can be enabled separately. This allows users to capture voice commentary, relevant application audio, or both without including unnecessary sound sources.
Turning Spoken Context into Agent Rules
Important workflow logic should not remain available only in the recording’s audio track. After the demonstration is complete, spoken decisions and exceptions should be converted into structured instructions that the AI agent can use during execution.
For example:
Spoken explanation:
Do not submit the request when the contract expiration date is missing.
Structured agent rule:
If the contract expiration date field is empty, stop the workflow and route the request for manual review.
Another example:
Spoken explanation:
I select Express Delivery only when the customer has an active premium subscription.
Structured agent rule:
Select Express Delivery only when the customer profile displays an active premium subscription. Otherwise, keep Standard Delivery selected.
This conversion separates three important elements:
- the condition the agent must detect;
- the action it should perform;
- the fallback or escalation path when the condition is not met.
A computer-use agent normally acts on task instructions and current screen states rather than replaying the recording’s audio while completing the workflow. Voice commentary therefore serves as a source for extracting rules, not as the final format in which those rules should remain.
System audio may also need to be translated into an explicit condition. For instance, instead of relying only on a notification sound, the agent should ideally verify a corresponding visible message, status change, or other observable result whenever the application provides one.
Audio should be included in Windows screen recording only when it contributes information that cannot be understood reliably from the interface alone. Used selectively, microphone and system audio can preserve hidden decision logic, meaningful application signals, and exception-handling instructions without repeating the visual information already captured on screen.
Windows Screen Recording Quality, Privacy, and Data Requirements for AI Agent Training
A Windows screen recording can document a workflow, but a video file alone is not structured data for AI agent training. To train or evaluate a computer-use agent, teams must connect each screen state with the action performed, the resulting interface state, and the final outcome.
Turning a Recording into Structured Interaction Data
A video may show that a user clicked a button, but it does not automatically identify the task instruction, target element, click coordinates, or whether the action produced the correct result.
Each interaction trajectory should include:
- the task instruction;
- the screen before the action;
- the mouse, keyboard, or scrolling action;
- the target element or coordinates;
- the screen after the action;
- the step outcome;
- the final workflow status.
This converts the recording from a visual demonstration into data that describes what the user saw, what they did, and what happened next.
Synchronizing Screens, Actions, and Outcomes
Screenshots, video frames, and action logs must use the same timeline. Otherwise, a click may be linked to the wrong interface state, especially when menus or temporary dialogs appear briefly.
Click coordinates must also match the dimensions of the stored frame. If a screenshot is resized after coordinates have been recorded, the target position may become inaccurate. Teams should retain the original dimensions or convert coordinates into a normalized format.
Outcome labels should remain consistent across the dataset. Useful categories may include:
- success;
- failure;
- retry;
- incomplete;
- manual review;
- stopped by rule.
A workflow sent for human review may represent the correct outcome rather than a failure.
Maintaining Technical Consistency
Each dataset example should include relevant metadata, such as:
- screen and frame dimensions;
- Windows version;
- application or browser version;
- interface language;
- frame rate and codec;
- workflow version;
- capture date.
The original recording should be preserved before compression, resizing, annotation, or redaction. When PixelTaken is used, the local source recording can be retained while separate copies are prepared for annotation or controlled sharing.
Separating Training and Evaluation Data
Training data should include different valid outcomes, not only ideal executions. It may contain successful tasks, recoverable errors, incomplete processes, business-rule stops, and human escalations.
Near-identical recordings should not appear in both training and evaluation sets. Otherwise, evaluation results may reflect memorization rather than the agent’s ability to handle a new situation.
Evaluation examples can vary the starting state, sample data, interface layout, workflow exception, or required result.
Privacy, Consent, and Dataset Governance
Permission to record a workflow does not automatically authorize its use for AI agent training. Before adding a recording to a dataset, the organization should define:
- who owns the workflow and captured data;
- whether the recording may be used for documentation, evaluation, or training;
- who can view, annotate, export, or delete it;
- whether external providers may process it;
- where source and processed files are stored;
- how long each version is retained.
Whenever possible, use synthetic accounts, generated documents, and non-production environments. Privacy controls must apply not only to the video but also to derived screenshots, transcripts, action logs, annotations, and metadata.
AI Agent Dataset Checklist
Before using a recording, confirm that:
- the task instruction is clear;
- actions and screen states are synchronized;
- coordinates match the frame dimensions;
- step and final outcomes are labeled;
- source and processed files are separated;
- technical metadata is available;
- training and evaluation examples do not overlap;
- the data is authorized for its intended AI use;
- access, retention, and deletion rules are documented.
In this role, Windows screen recording provides the visual layer of the dataset. Reliable AI agent data also requires synchronized actions, outcome labels, technical metadata, controlled dataset splits, and documented governance.
Turning Windows Screen Recording into a Reliable and Testable AI Workflow
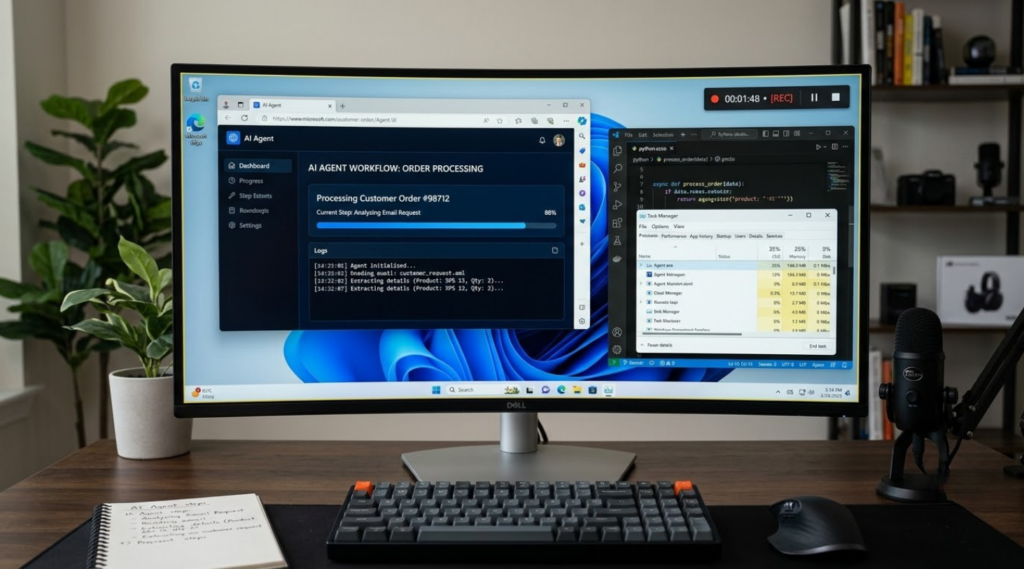
A Windows screen recording provides a reference for how a desktop task should be completed, but reliability must be measured through repeatable tests. The goal is not to make the agent reproduce every cursor movement from the demonstration. It is to verify that the agent reaches the correct result, respects workflow rules, and responds safely when the expected path is unavailable.
Convert Workflow Checkpoints into Test Assertions
Each important checkpoint in the recorded process should become a test assertion with a clear pass or fail result.
For an invoice-processing workflow, assertions may verify that:
- the correct customer account was opened;
- required values were entered into the correct fields;
- the uploaded file appears in the record;
- the status changed to Processed;
- no unresolved validation message remains;
- the original document was not modified or deleted.
Assertions should test observable results rather than cursor movements. An agent may use a slightly different navigation path from the human demonstration and still complete the task correctly.
The test should therefore distinguish between:
- action correctness: the selected action was appropriate for the current state;
- state correctness: the application produced the expected response;
- outcome correctness: the complete workflow produced the required business result.
Create a Test Matrix
Testing only the exact scenario shown in the original recording provides limited evidence of reliability. A practical test matrix should cover several execution categories:
| Test path | Expected agent behavior |
| Normal path | Complete the workflow and verify the result |
| Recoverable error | Correct the issue or retry within a defined limit |
| Blocked path | Stop without submitting incomplete or incorrect data |
| Human-review path | Transfer the task with the relevant context |
| Restricted action | Refuse or pause before an unauthorized operation |
Each test case should define its input data, expected result, allowed actions, and failure condition.
For example, an invoice without a purchase-order number may require human review, while a temporary loading delay may justify a retry. These outcomes should be tested separately because they require different agent behavior.
Define Retry, Recovery, Stop, and Escalation Rules
Error handling should be explicit rather than left to the agent’s general judgment.
- “Retry” repeats an action after a temporary problem, such as an incomplete page load.
- “Recover” returns the workflow to a known state and follows an approved alternative path.
- “Stop” ends the run when continuing could create an incorrect or unauthorized result.
- “Escalate” transfers the task to a person when approval or interpretation is required.
Each retry should have a limit. Repeating the same failed click indefinitely does not improve reliability and may create duplicate submissions or unwanted changes.
The workflow should also define actions the agent must never retry automatically. These may include sending a payment, deleting a record, approving a contract, publishing information, or changing access permissions.
Analyze Run Evidence and Failure Causes
Each test run should produce enough evidence to explain how the agent reached its result. Depending on the automation platform, this evidence may include:
- ordered action logs;
- screenshots captured around important steps;
- timestamps and execution duration;
- validation results;
- retry and escalation events;
- the final application state.
The approved human recording can remain the visual baseline, while run evidence shows how the agent behaved during a specific test. The agent does not need to reproduce the demonstration frame by frame, but it must satisfy the same required assertions and reach an approved outcome.
PixelTaken can be used to preserve the approved human demonstration and record failed or unusual agent runs for visual review, while the automation platform remains the source of structured logs, test results, and execution data.
Failed or unusual runs should be classified by cause:
- unclear or incomplete instructions;
- incorrect visual interpretation;
- wrong action selection;
- an application response that was not detected;
- a recovery rule that was not triggered;
- an interface or permission change;
- incorrect final data;
- an unsafe or unauthorized action.
This classification helps teams identify whether the workflow requires clearer instructions, stronger validation, updated recovery logic, or changes to the application environment.
Run Regression Tests After Workflow Changes
Computer-use workflows should be retested after changes to:
- Windows or the target application;
- page layouts and form fields;
- user permissions;
- workflow rules;
- agent instructions;
- the computer-use model;
- browser or automation settings.
A compact regression suite can include the normal path, one recoverable error, one blocked scenario, one human-review case, and one restricted action. Running the same suite after each meaningful change makes performance comparable over time.
Teams should track more than the overall completion rate. Useful reliability metrics include:
- task success rate;
- assertion pass rate;
- retry rate;
- human-intervention rate;
- incorrect-action rate;
- final-data accuracy;
- average execution time.
A high completion rate is not sufficient when the agent frequently enters incorrect data, requires repeated retries, or performs actions outside the approved workflow.
A reliable AI workflow can prove that it reached the correct result, detect when it did not, and select an approved retry, recovery, stopping, or escalation path. Windows screen recording provides the reference demonstration, while test assertions, regression cases, run evidence, and measurable metrics turn that reference into a repeatable quality-control process.