How to screenshot one monitor on Windows, MacOS and Ubuntu Linux
If you want to know how to screenshot one monitor or dual monitors or a single window on Windows, MacOS or Ubuntu and similar Linux distributives, please see our tips below:
Windows:
- Two Monitors: Press `Alt` + `PrtScn` to capture the active window. If you have multiple monitors, this will capture the window on the active monitor.
- One Monitor screenshot: Use `Windows` + `Shift` + `S` to open the Snipping Tool and select the area you want to capture.
- Single Window screenshot: Click on the window you want to capture and press `Alt` + `PrtScn`.
- Specific Area: Press `Windows` + `Shift` + `S` and drag the cursor to create a rectangle around the desired area.
Ubuntu:
- Two Monitors: Press `PrtScn` to capture both screens. For a single monitor, use the same key but first focus on the monitor you want to capture.
- One Monitor: Focus on the monitor you want to capture and press `PrtScn`.
- Single Window: Press `Alt` + `PrtScn` to capture the active window.
- Specific Area: Press `Shift` + `PrtScn` and select the area you want to capture.
MacOS:
- Two Monitors: Press `Shift` + `Command` + `3` to capture the entire screen, including all monitors.
- One Monitor: If you want to capture a specific monitor, use `Shift` + `Command` + `4` and select the area of the monitor.
- Single Window: Press `Shift` + `Command` + `4`, then press the `Spacebar` and click on the window you want to capture.
- Specific Area: Press `Shift` + `Command` + `4` and drag to select the desired area.
Remember, after pressing the key combinations for capturing a specific area or single window, you’ll need to select the area or window before the screenshot is taken. Screenshots are typically saved to the desktop by default, but you can change the location in the settings for each operating system.
And we may recommend you even a better and more flexible way to do screenshots of one or dual monitors. PixelTaken can do all that and UX inline with UI makes it incredibly simple. Besides, you will find our application for desktop machines on all operating systems. Additionally you may find it useful to send our ultra secure links of screenshots and screen capturings uploaded to our cloud. Do it in one click or hotkey. To learn more please see our Tutorials page.
How does it work? So assume you want to make a screenshot of one monitor. You will need our PixelTaken app for this. So, you may find id in all stores of all platforms. On our home page you will find all links to all stores (Microsoft Store, Apple Store and Snapcraft). The installation process will path smoothly. We made significant effort to get to this level.
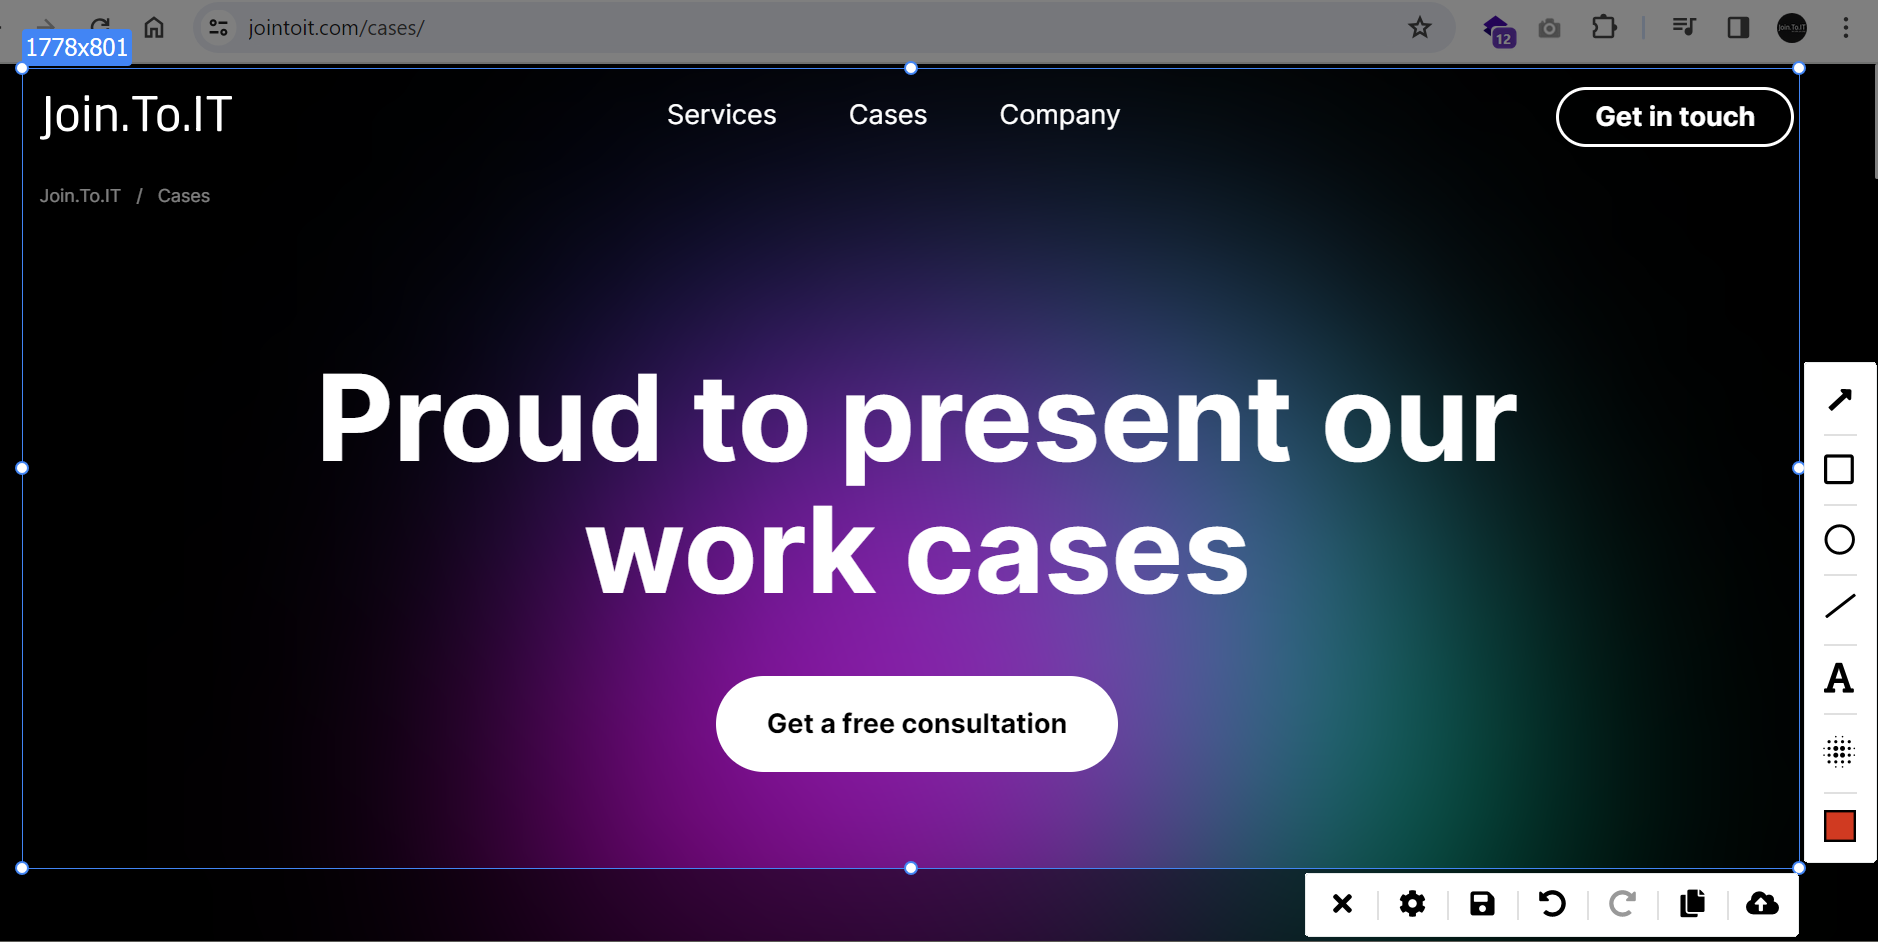
Now as you are all set up, let’s begin. Find an icon of our screenshot app to make a one screen capturing. You will see a tool to select a screenshot area. This is where the magic comes. Now you are able to pick that monitor which you need. See the image below.
![]()
Move your mouse over the monitor where you want to do a screenshot. It is very simple. Then just drag the area and select either full screen with your hand or a part of it. You also may use a hotkey Ctrl (Command) + A to automatically select full screen.
Happy capturing!