PixelTaken on Windows: Why Pros Prefer It Over Built-in Tools
The Modern Demands of Windows Users
In 2025, taking a screenshot on a Windows machine isn’t just a quick utility — it’s a daily necessity for developers, designers, support agents, educators, and content creators. From documenting bugs to crafting tutorials, capturing the screen is a core task across industries. And yet, despite the increasing demand, many still rely on the default snipping tool in Windows, missing out on the enhanced workflows offered by more powerful alternatives.
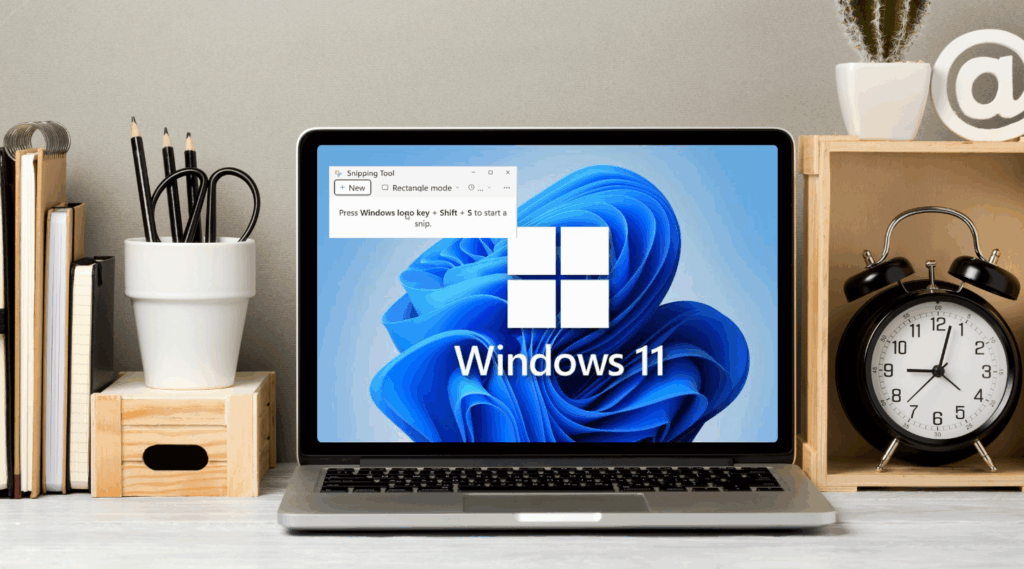
Whether you’re trying to capture a quick Windows desktop screenshot or perform a full-screen capture on Windows 10 or 11, built-in tools like the Snipping Tool (Windows 10/11) or Snip & Sketch often fall short. They lack the advanced options needed for speed, customisation, and precision, especially when handling complex layouts or multi-monitor setups.
Modern users need much more than just a basic screen capture on Windows:
- One-click screenshot of a single monitor;
- Instant cloud backup and sharing;
- Built-in annotation tools with arrows, highlights, and blur effects;
- Seamless experience across Windows 10 and Windows 11 environments;
- Support for high-resolution video screen capture on Windows for demos or walkthroughs.
Professionals working in a multi-monitor setup often struggle with the inability to capture a screenshot of just one monitor. Instead of a simple shortcut to print screen one display, they’re forced to capture everything, open an editor, and crop manually — an inefficient and frustrating process.
On Linux, the ecosystem of tools like Flameshot and PixelTaken evolved to meet professional needs. Now, PixelTaken brings those same capabilities to Windows, offering a smarter, faster, more intuitive way to capture your desktop.
Whether you’re trying to snap a window for documentation or create a polished Windows screen snapshot with annotations for a presentation, PixelTaken outperforms the default snipping tool on Windows. It’s time for professionals to expect more from their screenshot tools — and PixelTaken delivers.
The Limitations of the Built-in Snipping Tool in Windows
Although pre-installed and easily accessible, the Snipping Tool in Windows has limitations that render it inadequate for today’s productivity needs. These tools are functional for basic tasks — such as capturing a quick Windows desktop screenshot — but they fall short in terms of flexibility, speed, and professional-grade features.
Limited Workflow Automation
The built-in screen capture tools in Windows require multiple steps to perform a simple task. For instance, capturing a specific region and annotating it typically involves:
- Launching the snipping tool manually;
- Selecting the area;
- Opening the file in an editor;
- Annotating and saving/exporting manually.
For professionals, this is a tedious process, especially when such tasks are repeated multiple times daily.
No Smart Single-Monitor Support
One of the most common issues with default screen capture on Windows is the inability to screenshot one monitor in a multi-monitor setup. Instead of offering a quick shortcut for “how to screenshot one monitor”, users must capture the full desktop and crop it manually. This is both inefficient and frustrating for anyone working across two or more displays.
In contrast, third-party tools like PixelTaken make printing a screen on one monitor a one-click operation — a must-have for anyone managing complex setups.
Basic Annotation Capabilities
Although the Snipping Tool in Windows does include a pen and highlighter, it lacks robust markup tools. There are no arrow styles, no blur effects, no callouts — features that professionals rely on when creating training materials, documentation, or feedback.
By comparison, advanced tools like PixelTaken offer unified annotation toolkits that mirror the functionality found in Linux-based tools, providing an intuitive editing environment.
Poor Support for Video Screen Capture
Another major limitation is the lack of native video screen capture in Windows tools. Educators, developers, and content creators frequently need to record short clips for demos or tutorials. While there are workarounds, the built-in tools do not offer seamless recording capabilities, forcing users to search for third-party alternatives.
Inconsistent User Experience
The default snipping tool on Windows 11 behaves differently from Windows 10, causing friction for users who switch devices or work across different OS versions. In contrast, apps like PixelTaken maintain consistent performance across platforms, ensuring a uniform experience whether you’re using Windows 10 screen capture or Windows 11 screenshot tools.
Screenshot Efficiency: Comparing Workflow Time
When deadlines are tight and productivity matters, every second counts — especially when you’re capturing dozens of Windows desktop screenshots as part of your daily tasks. Here’s how PixelTaken dramatically outperforms the built-in snipping tool in Windows in real-world scenarios.
Default Snipping Tool in Windows: Slower, Cumbersome Workflows
Using the native snipping tool for Windows, a typical capture flow looks like this:
- Launch the Snipping Tool in Windows 10 or Snip & Sketch.
- Choose a capture mode manually.
- Select an area.
- Edit or annotate using limited tools.
- Manually save the file.
- Move it to a specific folder.
Each step may take just a few seconds, but across 10–20 screenshots, those minutes quickly add up — and that’s without considering mistakes, cropping errors, or format issues.
PixelTaken: Fast, Streamlined, Reliable
With PixelTaken, the capture process is optimised for speed and simplicity:
- Press a predefined shortcut (e.g., Print Screen (PrtScn)).
- Instantly annotate using pro-level tools.
- Screenshot is auto-saved to a defined folder or uploaded to the cloud.
Even better, PixelTaken supports screen capture on Windows 11 with high-DPI display recognition — no resizing or blurry results.
Time Savings in Real Use Cases
Let’s compare workflows side-by-side:
| Task | Snipping Tool in Windows | PixelTaken |
| Capture region | Manual menu selection | Instant shortcut |
| Annotate with shapes/arrows | Basic tools only | Advanced layered tools |
| Multi-monitor capture | No monitor targeting | One-click monitor selection |
| Estimated time (10 tasks) | ~15+ minutes | ~4–5 minutes |
That’s a 3x speed improvement. Multiply this across weeks of work, and PixelTaken can save hours monthly, especially valuable for developers, QA engineers, UX designers, and educators.
Bonus: Efficient Video Recording Built-in
Do you need more than just a Windows screenshot? PixelTaken’s integrated video screen capture for Windows supports quick screen recordings — ideal for bug reporting, walkthroughs, and UI testing.
Conclusion: Why PixelTaken is the Go-To Tool for Power Users
In a digital era where precision, speed, and adaptability define productivity, PixelTaken delivers a screenshot experience tailored to modern workflows. Unlike traditional snipping tools in Windows 10 or 11, which focus on basic screen capture, PixelTaken aligns with how professionals work: across multiple monitors, switching between tasks, and needing quick, clear visuals with minimal effort.
For developers, designers, educators, and remote teams, PixelTaken bridges the gap between simple tools and demanding real-world use. Its smart feature set — from ultra-fast screen capture on Windows to cloud-based sharing — allows users to focus on what matters: communicating clearly and working efficiently.
Rather than offering one-size-fits-all functionality, PixelTaken adapts to different workflows — whether you’re documenting UI feedback, creating tutorials, or capturing a Windows screen snapshot during a live session. It’s not just a replacement for the Snipping Tool on Windows — it’s a leap forward in how professionals engage with visual content.
If your daily tasks depend on clarity, speed, and consistency, then PixelTaken isn’t just helpful — it’s essential.