The Perfect Ubuntu Screenshot: Resolution, Scaling & UI Consistency Tips
1. Why Pixel Precision Still Matters in 2025
In 2025, graphic communication is more important than ever, especially for developers, QA engineers, and technical writers. Whether you’re submitting a bug report, writing documentation, or editing a blog tutorial, your Ubuntu screenshot must be clean, crisp, and pixel-perfect.
A low-quality or badly scaled capture introduces friction: it raises issues, requires further clarification, and even leads to the wrong solutions. Hence, taking crisp snaps — e.g., a crisp Ubuntu screenshot — continues to be an essential part of modern workflows.
With high-resolution monitors today and multi-monitor setups, the likes of PixelTaken (an Ubuntu snipping utility) are a necessity. It ensures screenshot fidelity — no stretching, no uncertainty. Whether or not you use PixelTaken or other applications, resolution fidelity is paramount.
And with Linux implementations ranging from Linux Mint MATE to antiX, Ubuntu GNOME, or Puppy Linux, being consistent is the key. A simple Ubuntu screenshot from the desktop environment of one should look as readable as a Linux Lite desktop screenshot from another.
Whether you’re creating a step-by-step tutorial, documenting a UI bug, or preparing your assets for your dev blog, never underestimate the power of pixel-perfect precision. The Ubuntu snipping tool is just one of the tools that allow teams to move fast — and look pro — with all their graphics.
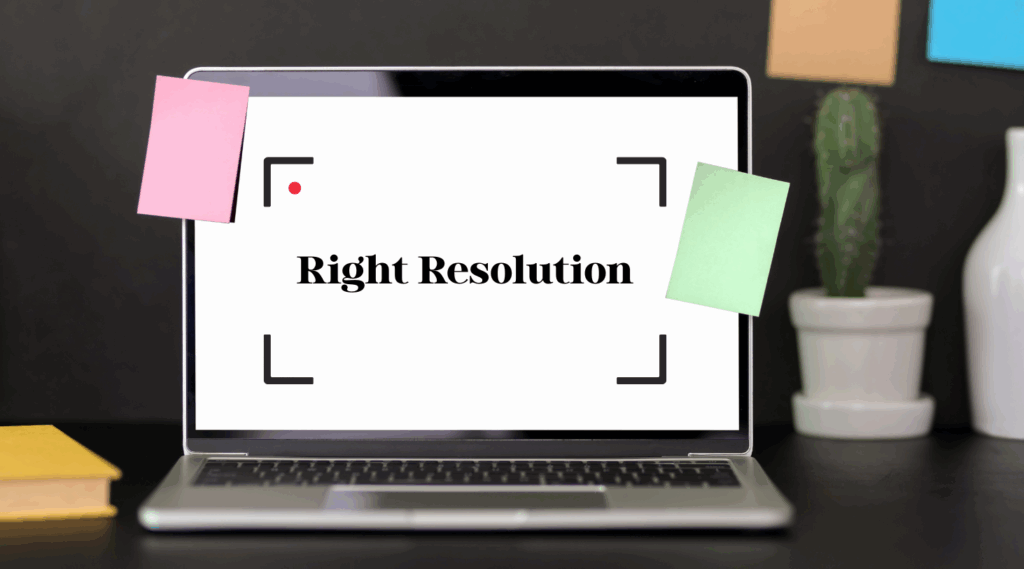
2. Choosing the Right Resolution for Ubuntu Screenshot
Different use cases require various screenshot resolutions, and selecting the correct one can significantly enhance how your visual is viewed and utilised.
- For bug reports and support tickets, your requirement is UI detail clarity. Utilise full-resolution Ubuntu desktop screenshots with no compression. The Ubuntu snipping tool, such as PixelTaken, has PNG output capability, providing crisp edges and pixel-accurate objects.
- For web documentation or blog posts, image sizes matter. Capture at high resolution (e.g. 1920×1080 ), then scale to proportion to your content width (e.g. 1200px for blog layouts). Load images quicker without losing image quality using WebP.
- For internal documentation, especially across mixed hardware environments (e.g. Arch Linux desktop screenshot vs. Ubuntu GNOME desktop screenshot), use consistent screenshot sizes. Define a screenshot standard: 1x resolution, no scaling, same padding.
- In multi-screen setups, it’s better to avoid capturing multiple displays unless necessary.
Last but not least, don’t crop or downscale after the fact — capture exactly what’s required using the snipping tool in Ubuntu. This way, your Ubuntu screenshot will be just what’s expected by the viewer, regardless of context.
3. Dealing with Scaling (Especially on High-DPI Displays)
Most modern displays employ scaling to render UI elements legible on high-DPI monitors. Though beneficial to the user experience, it makes taking Ubuntu screenshots a nightmare when using 4K monitors, fractional scaling, or multiple monitors.
For instance, on Linux systems such as Ubuntu, Linux Mint, or Arch Linux, 125% or 150% scaling tends to result in:
- Cropped or blurry screenshots
- Incorrect window borders
- UI elements are bigger or smaller than they should be
They are especially noticeable when trying to snip a specific UI element with the use of a snipping utility on Ubuntu.
To avoid scaling artefacts:
- Use 100% display scaling where feasible before taking screenshots
- Avoid using fractional scaling like 125% or 175% — more prone to distortion
- Take a Ubuntu screenshot using scaling-respecting tools like PixelTaken, which adjusts for DPI settings automatically
For use with multiple monitors:
- Ensure that all screens have the same scale factor, or capture from the main monitor only
- Utilise the Ubuntu screenshot tool with resolution-sensitive features
In some environments (e.g., Linux Lite desktop screenshot or antiX Linux desktop screenshot), scaling differences can ruin design previews or test workflows. Predictable, scaling-aware tools are required for QA, devs, and content creators for that reason.
By understanding how scaling affects your Ubuntu screen capture, you can avoid messy-looking visuals, distorted UI captures, and review or handoff pain.
4. Avoiding Common Mistakes That Hurt Ubuntu Screenshot Quality
Even with the proper tools, most users make small but critical mistakes that reduce Ubuntu screenshot quality, usefulness, and professionalism.
Here are the most common mistakes — and how to avoid them:
1. Capturing While Resizing or Animating UI
Capturing in Ubuntu while resizing a window or tampering with dropdowns typically results in blurred edges or half-raying elements. Always allow animations to complete before screenshotting.
2. Capturing Too Much
Don’t trap your entire desktop if not needed. A screenshot of one screen will capture extraneous clutter (e.g., terminal logs, file managers). Employ a good snipping tool in Ubuntu, such as PixelTaken to trap only the area of interest, such as a single modal or settings panel.
3. Unreliable Scaling
Capturing screenshots at 125% or 150% scale will distort UI. Attempt a 100% scale whenever possible before taking a Ubuntu screenshot, especially for documentation or visual QA.
4. Saving in Low-Quality Formats
Saving UI screenshots as JPEG can introduce artefacts due to compression, especially on text and fine UI details. Attempt PNG or WebP instead, especially for Ubuntu desktop screenshot or Linux Lite desktop screenshot examples.
Avoiding these mistakes maintains your Ubuntu screenshot tool output sharp, uniform, and professional. Untainted presentations reduce miscommunication and increase the credibility of your documentation or workflows.
5. Using PixelTaken to Capture High-Quality, Scaled-Correct Ubuntu Screenshot

If screenshot quality is of importance to you — perhaps especially on Linux — you need something more than just simple screen capture utilities. PixelTaken is designed to help developers, testers, content creators, and support teams take high-resolution, scale-aware, and UI-consistent snapshots easily and efficiently.
Here is how PixelTaken helps you avoid pitfalls and level up your workflow:
Cross-Platform Consistency
While designed for Linux, PixelTaken is also compatible with macOS and Windows and thus can be a go-to option for teams that work in multi-OS environments.
Annotation Without Compression Loss
Annotate with arrows, highlights, or text directly in PixelTaken. Whether capturing a Ubuntu screenshot for reporting a bug or indicating a UI issue, annotations appear in crisp quality, with no JPEG compression artefacts.
Scaling-Safe Output
PixelTaken automatically scales on fractional scales (e.g., 125%, 150%), never distorting or stretching UI elements. The Ubuntu screenshot looks exactly like on your screen, even on HiDPI monitors.
Advanced Export & Format Options
Export to PNG, WebP, or even the clipboard with resolution intact. Perfect for pasting into:
- Documentation sites (Confluence, GitBook)
- Developer tools: (Jira, GitHub)
- Blog writing environments (WordPress, Ghost)
Whether you’re capturing a Linux desktop screenshot or an Ubuntu screenshot for internal QA, PixelTaken ensures that all images are clean, clear, and context-ready.
Clean visuals are no longer an option in 2025 — they’re an expectation. With PixelTaken, you don’t simply take screenshots — you create robust visual proof.