How to Use PixelTaken (Ubuntu snipping tool) with Google Drive and Notion for Workflow Syncing
Introduction
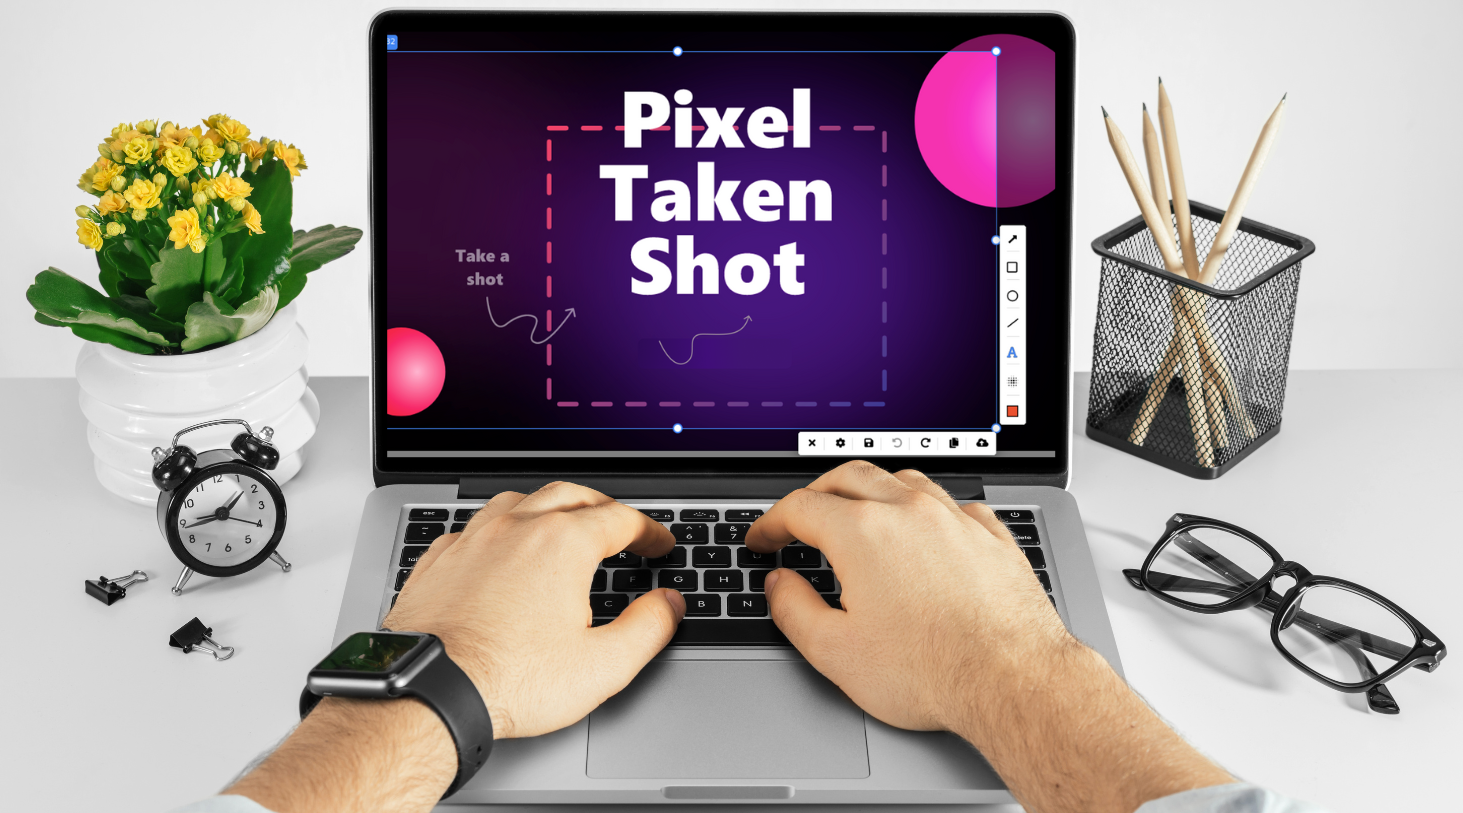
Effective management of screenshots can boost your productivity while using applications like Google Drive and Notion. PixelTaken, a powerful Ubuntu snipping tool, makes it easier to take and save images. Here, you’ll learn how to enhance your workflow by integrating PixelTaken with Google Drive and Notion, maximising the benefits of everything from tutorials to collaborative projects. Regardless of whether you need an easy way to print screen one monitor, take a screenshot of Ubuntu, or add an image into your Notion workspace, this tutorial has you sorted.
Why is combining PixelTaken with Google Drive and Notion a good idea?
- Centralised access: Store all Ubuntu Linux screenshots in one location.
- Enhanced organisation: Access any screenshot or annotated image on a single screen.
- Productive collaboration: Enhance team collaboration by integrating linked Google Drive folders or shared Notion pages.
- Standardised documentation: Utilise screenshots to enhance tasks, notes, and bug reports.
Collaboration PixelTaken with Google Drive
- Save the screenshots in a dedicated folder on your system.
- Upload that folder to Google Drive.
- Make subfolders such as “Bug Reports,” “Tutorials,” or “Meetings.”
- For high-traffic use, name files like “projectname_screen1_timestamp.png”.
- This method ensures that each Ubuntu screen snapshot is saved and easily shareable.
Using PixelTaken with Notion
- To insert a Ubuntu screenshot into a Notion page, first open the desired Notion page.
- Capture images using Pixel Taken, then easily integrate them into your workflow by either dragging and dropping them or using the `/image` command within Google Drive and Notion.
- Use contextual notes, checklists, or tags to track feedback.
- Create Notion databases like “Weekly Tasks” or “Bug Reports” with columns for title, status, and attached screenshots.
- Take advantage of this to enhance your writing with good images captured with Ubuntu screenshot tool PixelTaken.
Workflow Examples
Use Case 1: UX/UI Design
Capture annotations and learn how to take a screenshot on a single monitor for mockup reviews. Store them in Google Drive and link them in a Notion task board.
Use Case 2: Development Bug Reporting
Quickly snip errors in Ubuntu and paste them into a shared Notion bug tracker. This beats trying to describe issues with words alone.
Use Case 3: Content Creation
Use PixelTaken to take a screenshot one screen, save it, and insert it into tutorial drafts stored in Notion.
Use Case 4: Team Collaboration
Use PixelTaken as your default Ubuntu snipping tool, store screenshots in Drive, and attach them to shared Notion project pages for clarity.
Tips for Maximising Your Screenshot Workflow
- Use how to screenshot one monitor in Ubuntu to learn shortcuts
- Assign a hotkey for how to print screen one monitor or capture only a region
- Clean up old screenshots regularly to keep Drive organised
- Create a Notion template with a screenshot upload section
- Label screenshots clearly for easy search in Drive and Notion
Conclusion
By using PixelTaken with Google Drive and Notion, you bring structure to your visual documentation. Whether you’re trying to figure out how to take a screenshot in Ubuntu, looking for a snipping tool for Ubuntu, or needing an easy way to screenshot one monitor, PixelTaken makes it seamless. Say goodbye to messy folders and forgotten captures. With a streamlined workflow using the best Ubuntu snipping tool, your productivity gets a serious upgrade.
Ready to take your screenshots seriously? Try PixelTaken and sync your productivity.