If you’ve ever wished for a more intuitive way to capture just the part of your screen you need, this tutorial is for you.
You’ll learn how to configure a hotkey that launches a selection window, instantly captures a screenshot of the selected area, and also some additional toolbar features.
Let’s dive into creating a powerful, lightweight snipping solution for your Ubuntu desktop.
1. Making a screenshot
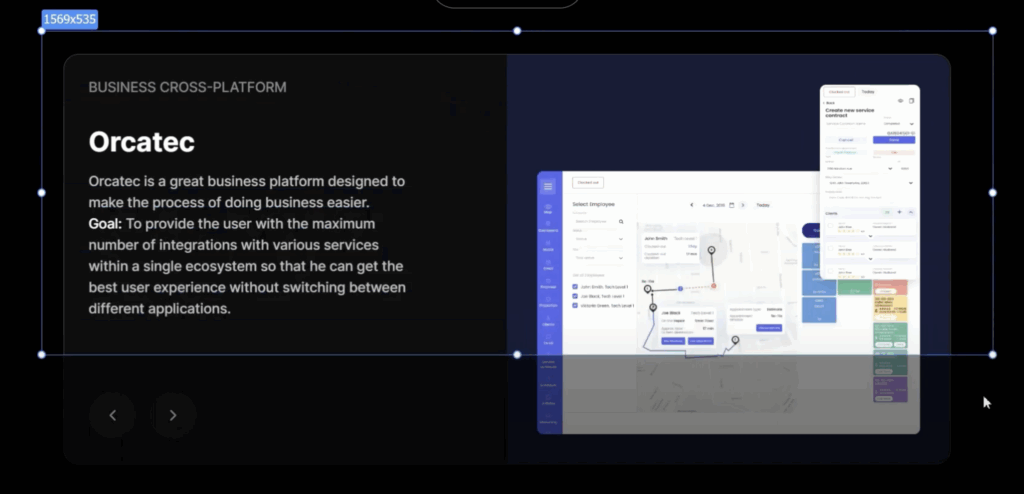
- 1.1 Press the Print Screen button and choose the area you want to save.
- 2.2 As soon as you click the Print Screen button, a PixelTaken window will appear with a prompt to select an area.
- 3.3 Click and drag your mouse to draw a rectangle around the part of the screen you want to capture.
2. Adding some text or notes
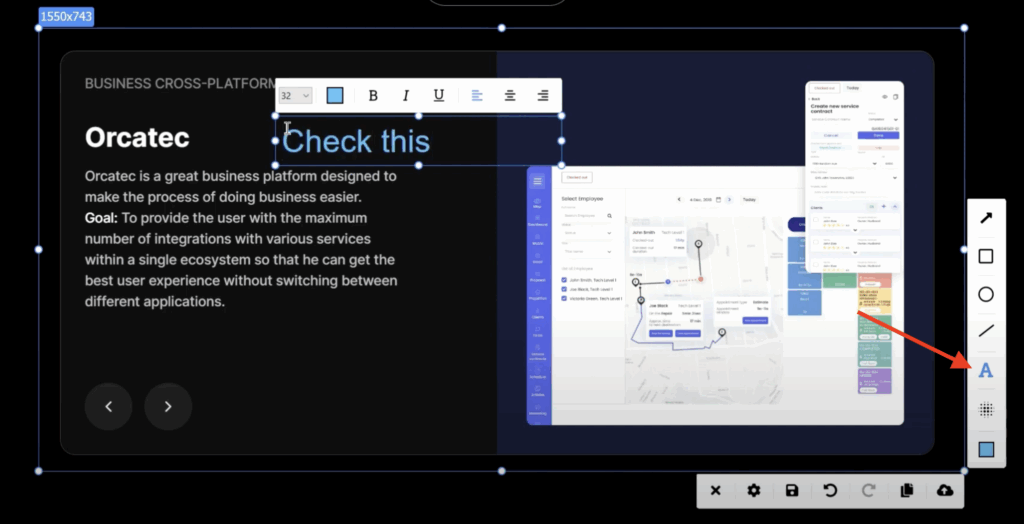
After capturing your screenshot in PixelTaken, you can quickly add annotations like text or notes directly on the image—ideal for explaining, labelling, or drawing attention to specific areas.
Here’s how it works:
- Click the Text icon in the PixelTaken toolbar. This icon usually resembles a letter.
- Your cursor will change to a placement mode. Click anywhere on your screenshot where you want the note to appear.
- A text box will appear. Type your message, label, or explanation directly into it. This could be a quick comment like “Fix this UI bug,” “Client requested change,” or “See margin error here.”
3. Customisation of the text
You can customise the text, depending on your needs: adjust the font size, colour of the text or alignment.
3.1 Change the font size
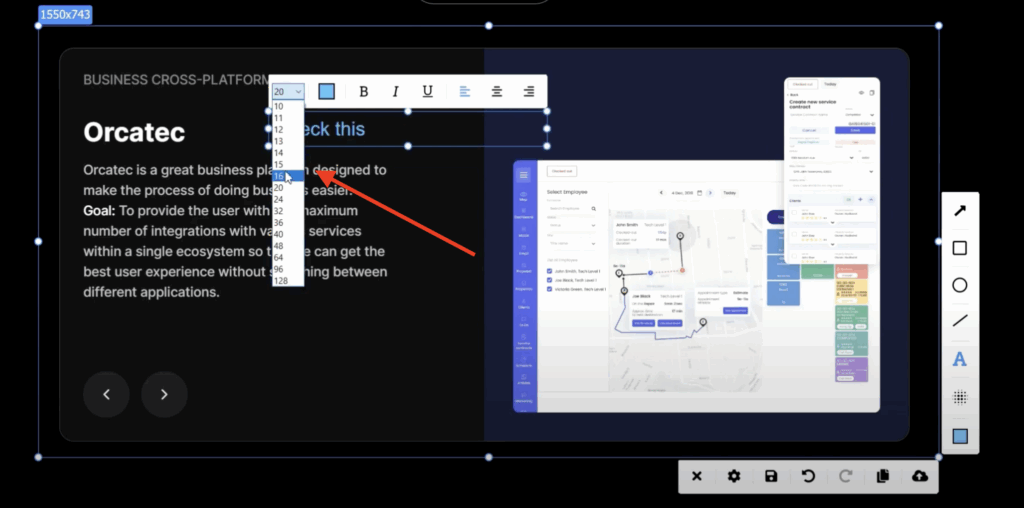
Adjusting the font size allows you to control the visual impact and readability of your message. Whether you’re labelling a tiny UI element or adding a title, choosing the right size makes your annotations clear and effective.
How to change the font size:
- Click on the text box you’ve added to your screenshot.
- In the editing toolbar, find the font size selector—usually represented by a dropdown menu or a slider.
- Choose a larger size for titles or key messages, and a smaller one for supplementary notes or captions.
Why it matters:
Proper font size helps users focus on the most important parts of your Ubuntu screen snapshot without overwhelming the image. It’s especially helpful when creating tutorials, bug reports, or step-by-step guides.
3.2 Style the text for emphasis. Select a style like bold, italic, or underline as needed
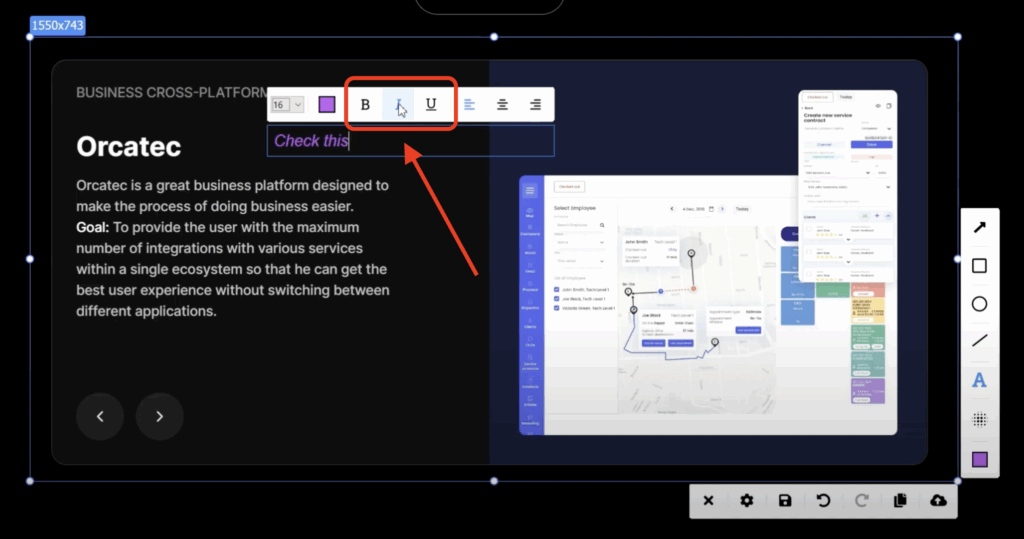
You can highlight important parts of your message by changing the text style. This makes your screenshots more expressive and easier to understand.
How to apply text styles:
- After entering your note or label, select the text box.
- Look for the text styling options (typically represented by “B” for Bold, “I” for Italic, and “U” for Underline) in the editing toolbar.
- Click the icon for the style you want to apply:
- Bold to emphasise keywords or titles.
- Italic for comments or secondary info.
- Underline to draw attention to critical details.
- Bold to emphasise keywords or titles.
3.3 Select a text color that contrasts with your background for better visibility
When you’re adding text or notes in PixelTaken, choosing the right color is key to making sure your message is clear and easy to read.
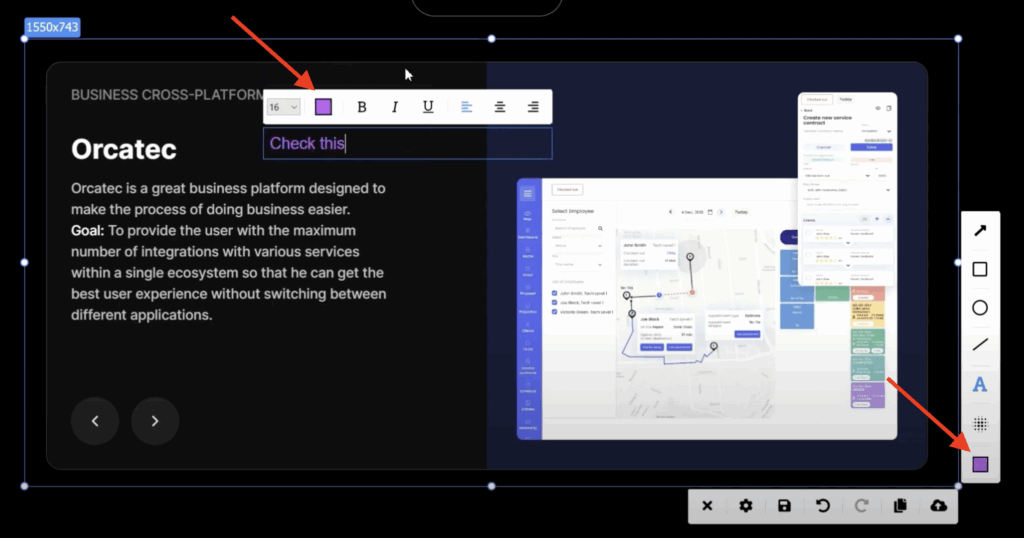
How to change the text colour:
- After selecting or typing your text, look for the colour picker tool in the top or side toolbar.
- Click on it to open the colour palette.
- Choose a colour that creates a strong contrast with your screenshot’s background. For example:
- Use white or light-colored text on dark backgrounds.
- Use black or dark-colored text on light backgrounds.
- Use white or light-colored text on dark backgrounds.
- Once selected, the text will automatically update with the new colour.
3.4 Choose the alignment of the text
Once you’ve added a text box to your screenshot in PixelTaken, you can control how the text is aligned within that box. This is especially useful when you’re working with longer notes or when you want your annotations to look clean and organised.
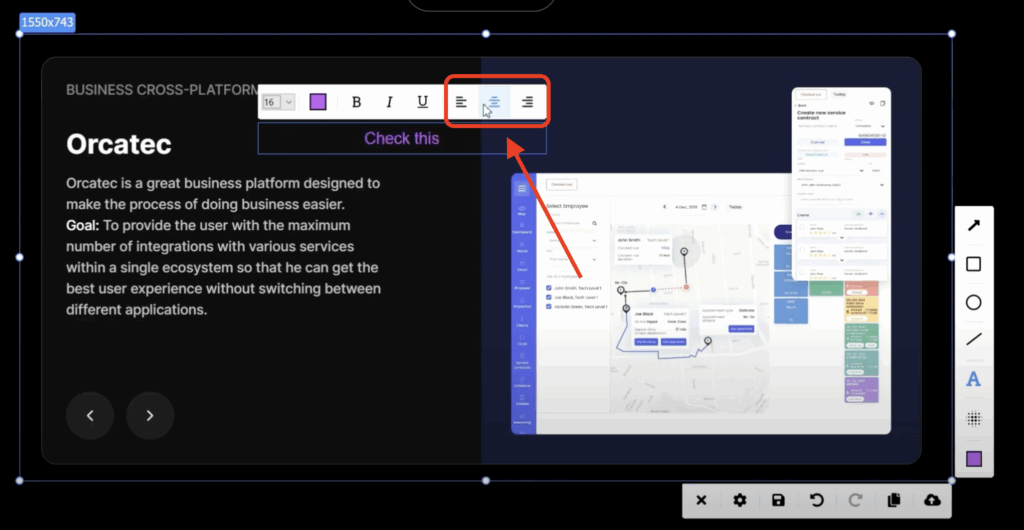
Here’s how to adjust the alignment:
- After typing your note, look for the alignment icons in the formatting toolbar (usually above or beside the text box).
- Choose one of the following options:
- Left align: Best for standard comments or short labels
- Center align: Ideal for emphasis or when placing text in the middle of a shape or section
- Right align: Useful when aligning text near right-side elements or to match other UI direction
- Left align: Best for standard comments or short labels
- The text inside your annotation box will immediately update to reflect your selection.
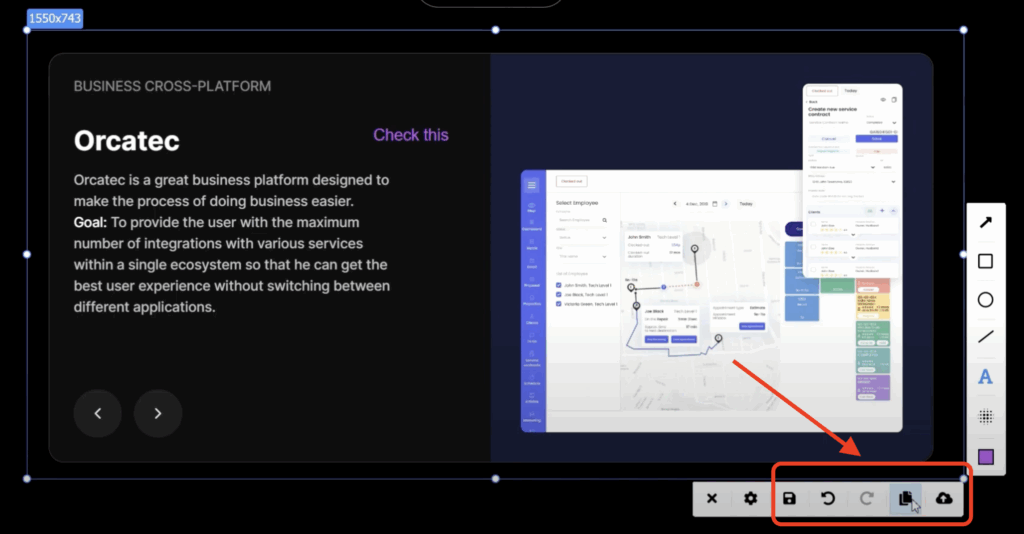
When you’re done, copy, save, or upload it to the cloud.