Screenshots are not just pictures — screencaps are part of web productivity and learning, regardless of whether you’re documenting a bug, saving information, or creating a tutorial, knowing how to take a good, useful screenshot matters. We’ll guide you through easy methods for capturing your screen in Ubuntu using the versatile Ubuntu snipping tool – PixelTaken.
1. Making a screenshot – Quick Area Capture
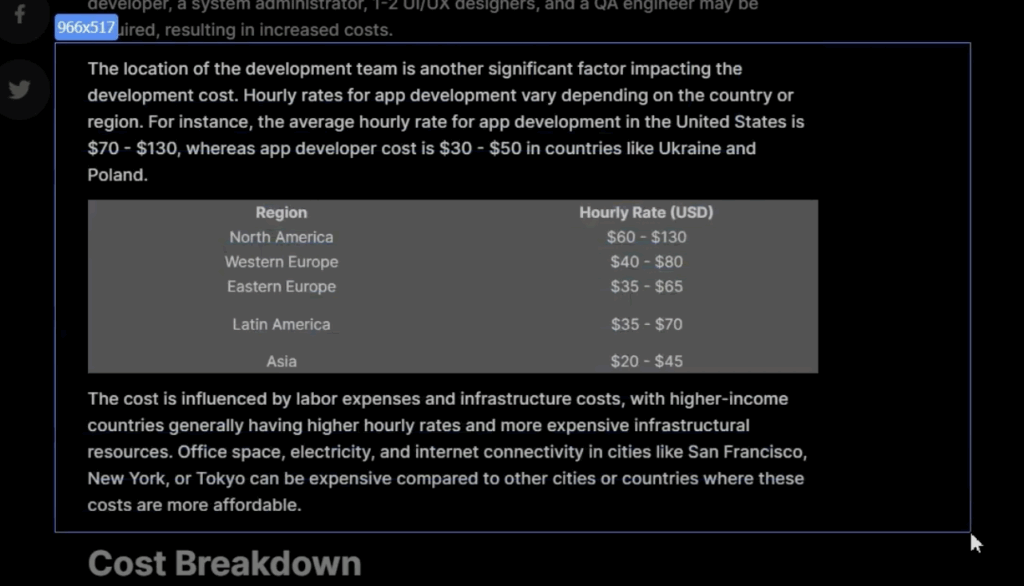
You can capture the most important section of your screen by pressing the “Take a Screenshot” button and then clicking and dragging the cursor over a rectangular area. It is useful when:
- You only need a specific section of the screen, like a table, pop-up, or menu
- You want to avoid cropping later by selecting the precise area upfront
- You’re working on step-by-step guides and need focused visuals
- You want to capture content quickly without additional editing
It’s a fast, built-in way to create clean, targeted screenshots without third-party tools.
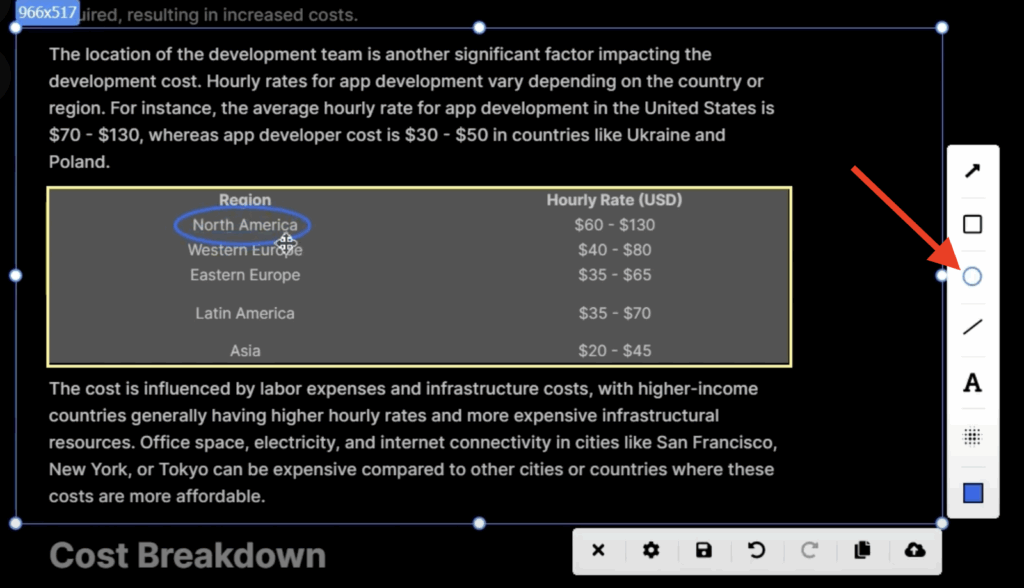
2. Draw Shapes – Highlight with Precision
2.1. Toolbar icons
You will have icons in your toolbar for different shapes: rectangles, circles, lines, and more. Click on the one you want to use and start drawing.
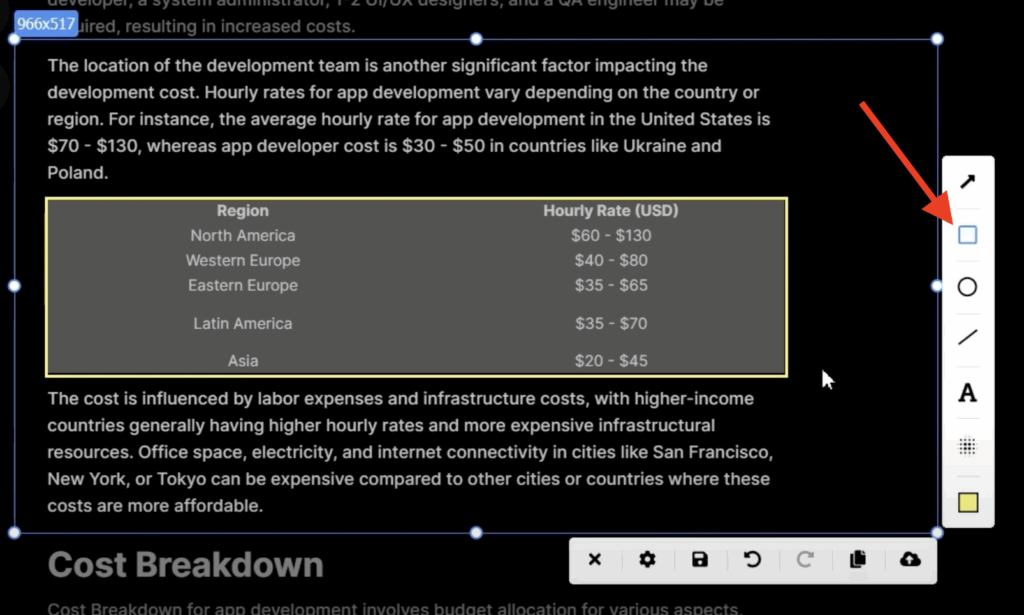
This is especially useful when:
- Emphasising key information in tables, interfaces, or documents
- Creating a visual structure by boxing important sections
- Drawing user attention to specific details in tutorials or presentations
- Organising content visually for clearer communication
Simply click the shape icon, choose the desired tool, and drag over your screenshot to create a clean, focused annotation.
2.2. Perfect form’s element
To draw a straight line or a perfect circle, hold “Shift” while drawing.
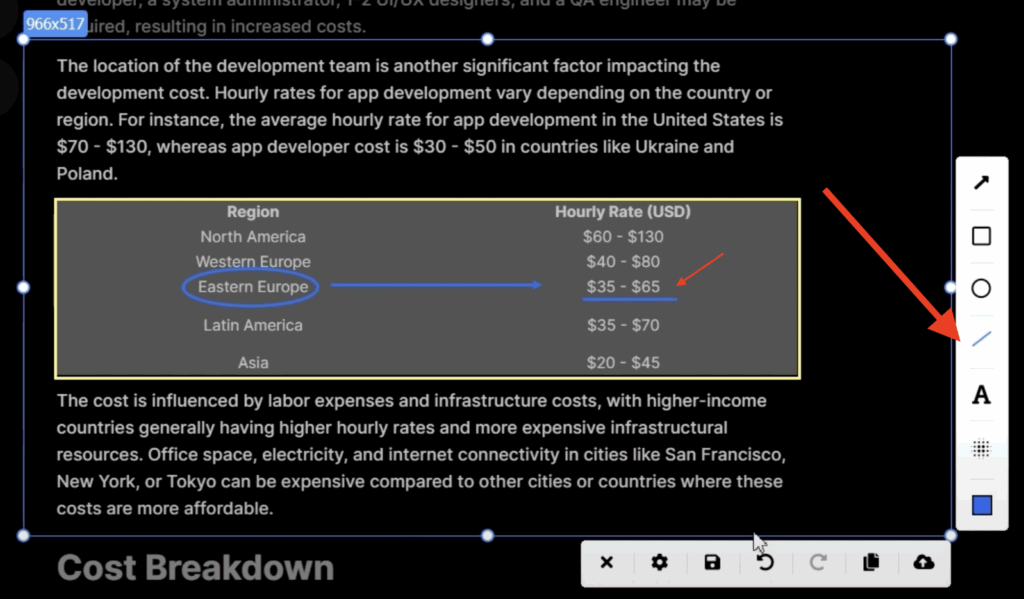
2.3. Adjust the element width
You can also adjust the line width using the mouse wheel. Perfect for emphasising key elements or making subtle marks stand out without cluttering your screenshot.
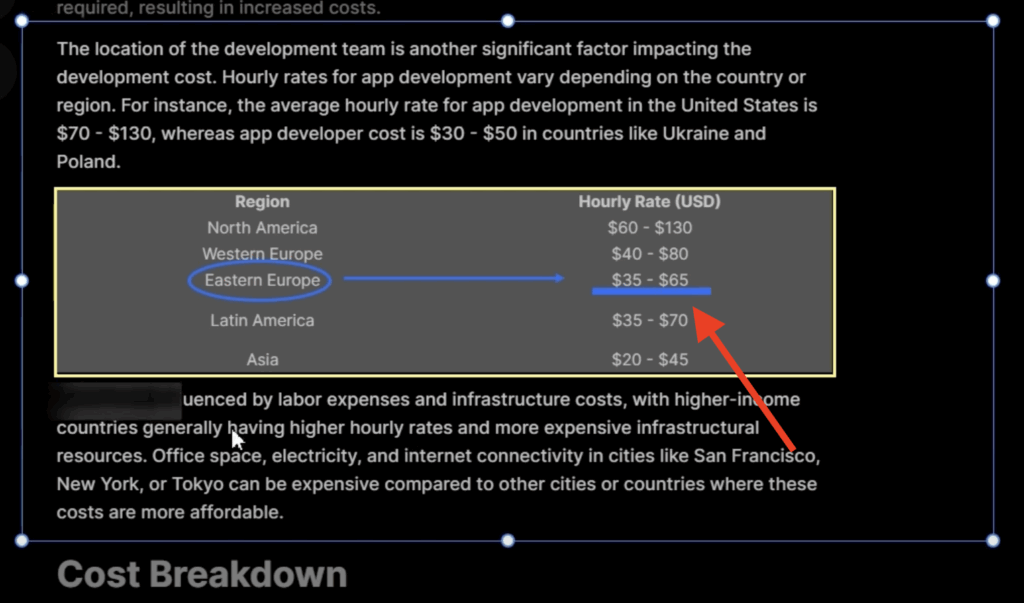
2.4. Dragging the elements
You can move the element to a different place by dragging it. Need to adjust your annotations? Simply click and drag any shape, arrow, or text box to reposition it exactly where you want.
This is useful for fine-tuning your layout or avoiding overlap with important content.
2.5 Undo action
Made a mistake or changed your mind? Just click the Undo icon to instantly reverse your most recent edit.
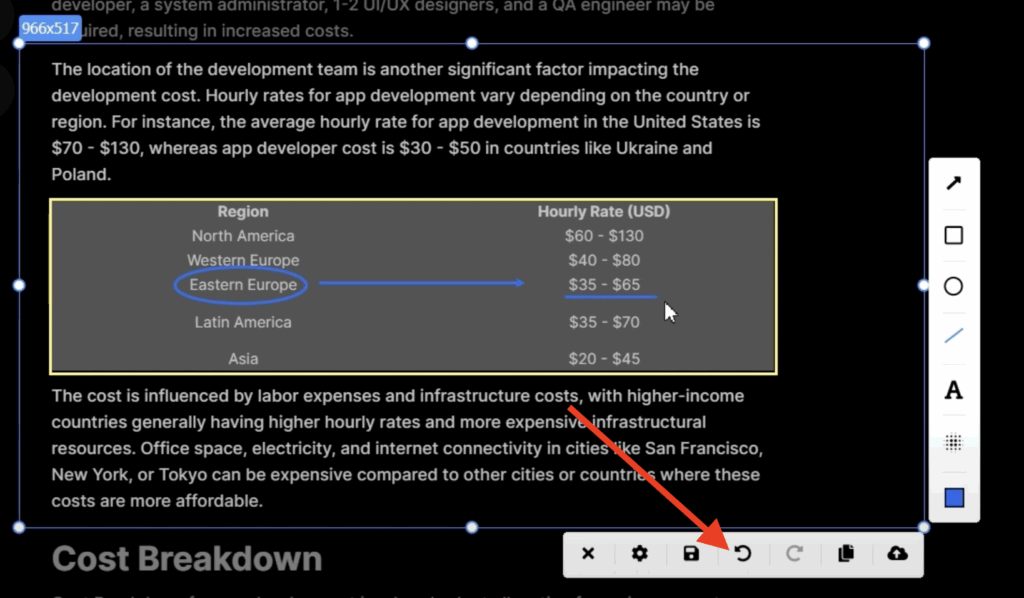
It’s a quick way to experiment freely without worrying about making permanent changes.
3. Color Picker Tool – Customize Your Highlights
You can pick a colour for every element.

This property can be used to make a shape, border, or colour user-configurable. It gets triggered when:
- Being highlighted specifically in points or positions in UI controls, charts, or tables
- Using your company colours for ads or guides
- Providing visible contrast for readability or accessibility
- Making several highlights by adding one at a time in colours
Whether you are creating business reports, tutorial content, or graphical reports, the colour picker makes your screenshots readable and descriptive.
4. Blur Tool – Hide Sensitive or Irrelevant Details
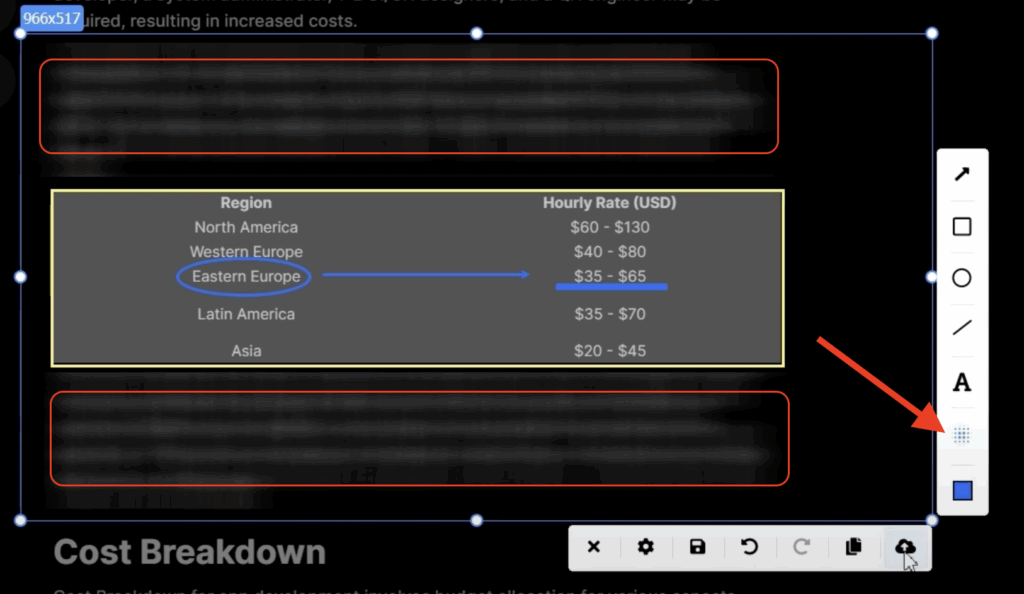
The blur tool lets you obscure parts of your screenshot to protect private or unnecessary content. This is especially useful when:
- Sharing screenshots that contain personal or confidential information
- Creating tutorials or reports where some text or visuals are not relevant
- Presenting clean visuals by hiding cluttered background areas
- Collaborating with clients or teams while safeguarding sensitive data
Whether you’re working with internal documents or preparing content for public use, the blur tool is essential for privacy and clarity.
5. Save it, or upload it to the cloud.
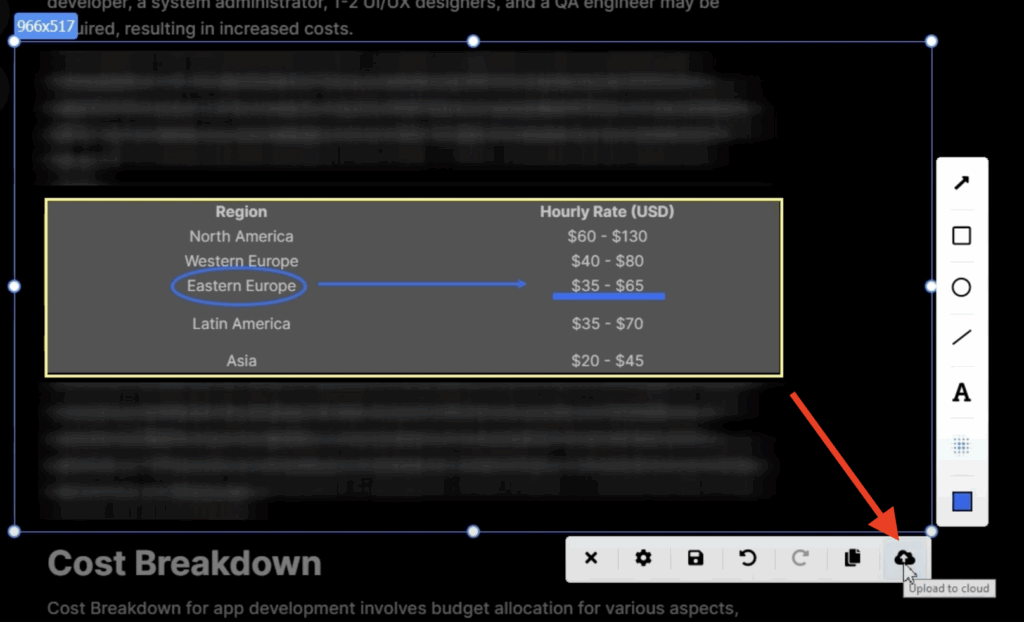
Once your screenshot is ready, you can either save it directly to your device or upload it to the cloud for easy sharing and access from anywhere.
This is perfect when collaborating remotely, storing backups, or accessing files across multiple devices.