For a smoother and more personalised workflow in PixelTaken, it’s important to configure your default settings and keyboard shortcuts. Here, we can guide you on how to customise your default settings and hotkeys for a better user experience.
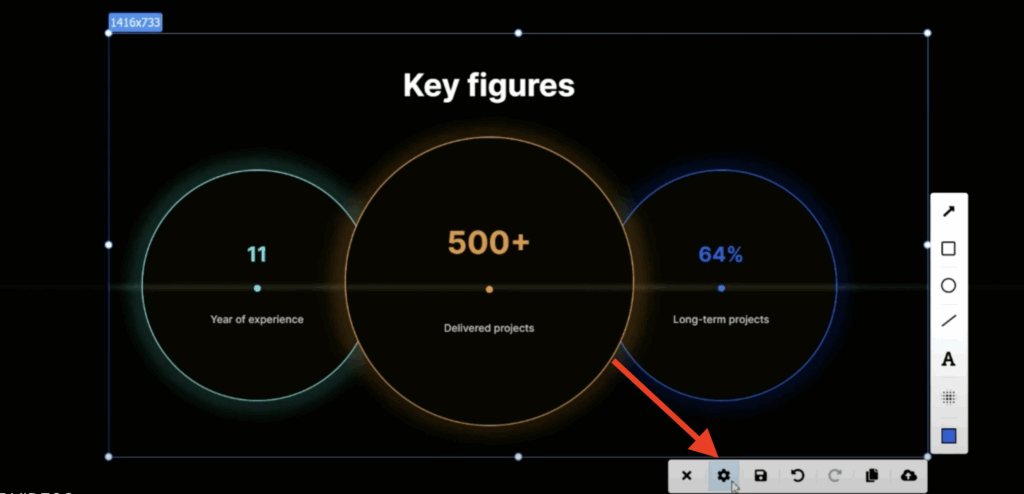
First, press the Print Screen button: this opens the PixelTaken interface, allowing you to take a screenshot and access the toolbar. Then click on the Settings icon in the toolbar.
1. General tab
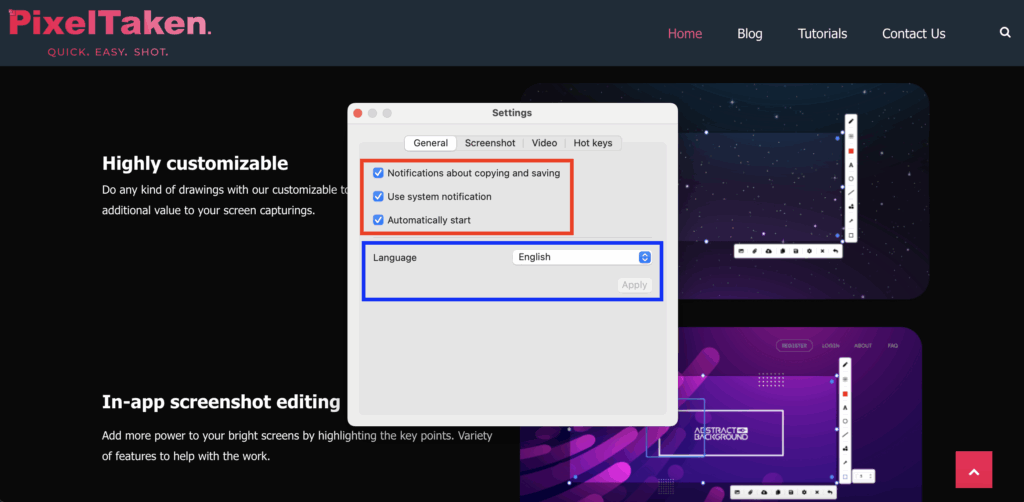
The General Section tab in PixelTaken allows you to adjust the settings to your preferences. From enabling notifications to choosing your startup behaviour and language, this section ensures a smooth and personalised screenshot-taking experience.
1.1 Notifications about copying and saving
You can enable or disable notifications when copying and saving a screenshot. When notifications are enabled, you’ll receive a small alert confirming that the screenshot has been successfully copied to the clipboard or saved to your computer. This helps you stay informed without having to manually check the folder or clipboard.
1.2 Use system notification
Uses your operating system’s native notification style (like macOS Notification Center) for messages and updates.
1.3 Automatically start
Launches PixelTaken automatically when your computer starts up, so it’s always ready to use. Enabling this option ensures the app is always ready to use as soon as your system boots, without needing to launch it manually. It’s especially useful if you take screenshots regularly and want the tool to be available in the background at all times.
You can enable or disable this behaviour in the settings at any time.
1.4 Language
PixelTaken allows you to choose your preferred interface language for a more comfortable user experience. Simply select a language from the dropdown menu under the Language section. After choosing your language, click the Apply button to save the changes. The interface will update to reflect your selected language.
2. Screenshot tab
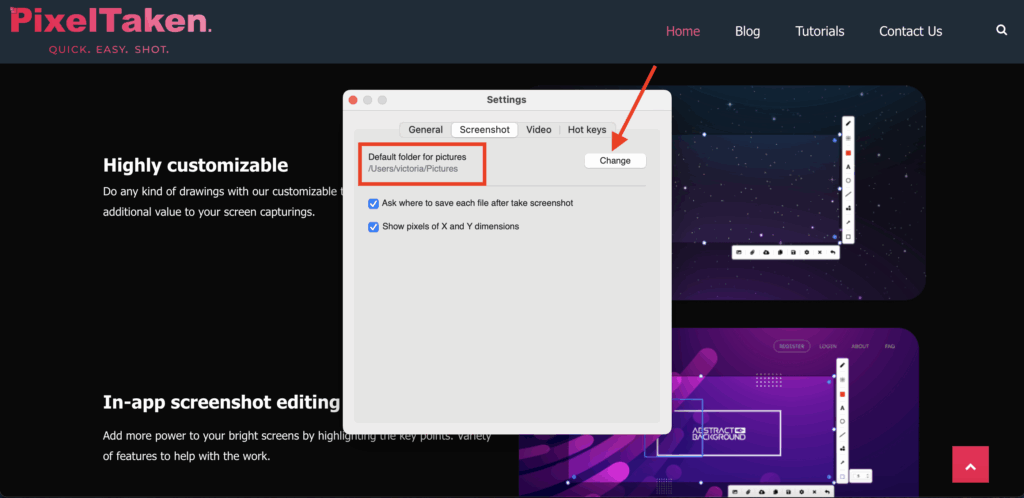
2.1 In the “Screenshot” section, you can see the folder where your screenshots will be saved.
By default, the app chooses a standard location, but you can easily change it to suit your preferences.
Click the Change button to select a different folder — for example, your desktop, a project-specific directory, or a cloud-synced location like Google Drive or OneDrive. This helps keep your screenshots organised and easily accessible based on how you work.
This setting helps streamline your workflow based on how you prefer to handle screenshots.
2.2 Ask Where to Save Each File After Taking a Screenshot
When this option is checked, the app will prompt you to choose a location for each screenshot you take — useful if you’re working with multiple folders or organising by task.
If unchecked, screenshots will be saved directly to the default folder without any prompts.

2.3 Show Pixels of X and Y Dimensions
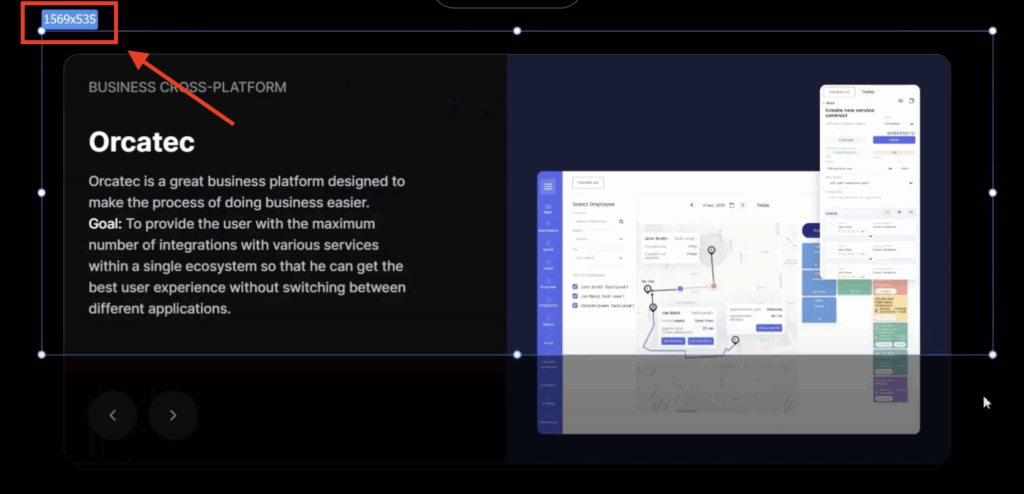
You can choose if you want to see the pixel dimensions in the top left corner of the window. This feature helps you precisely measure the size of the selected screenshot area while capturing.
Enabling this will display the dimensions (width × height in pixels) when selecting an area to capture, for example: 1569×535. This helps you take precisely-sized screenshots, which is especially useful for designers, developers and content creators.
You can enable or disable this option in the settings menu, depending on your preference.
3. Video Tab
This section of the PixelTaken settings lets users configure options for screen video recording. Below is a breakdown of each control shown:
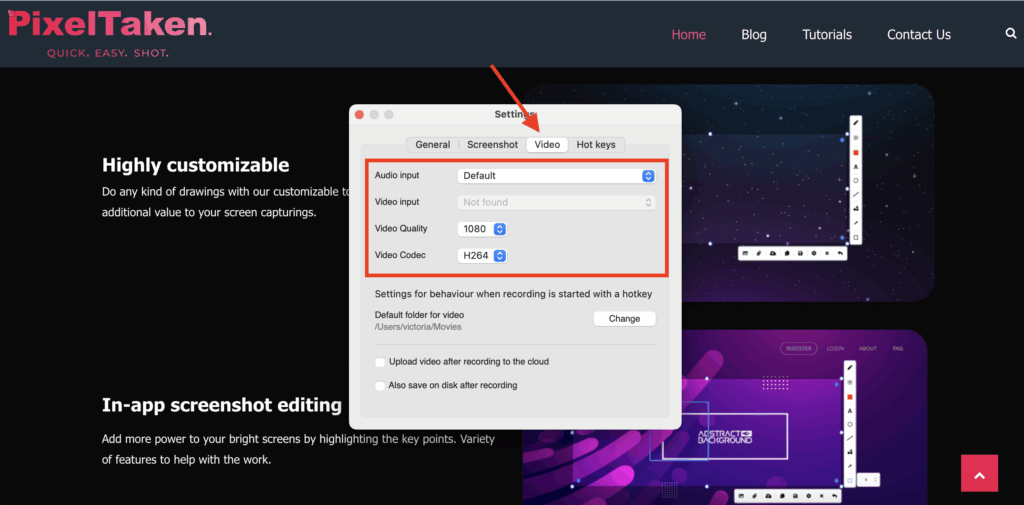
3.1 Audio input:
- Current setting: Default
- Selects the audio source for recording. This could be your system audio, microphone, or another external input. “Default” typically uses the system’s primary microphone.
3.2 Video input:
- Status: Not found
- Indicates that no video input device (e.g., webcam or external capture device) is currently detected. This option is likely used for picture-in-picture or webcam overlays.
3.3 Video Quality:
- Value: 1080
- Sets the resolution for the recorded video. 1080 implies Full HD (1920×1080), which is ideal for high-quality screen recordings and tutorials.
3.4 Video Codec:
- Selected codec: H264
- H.264 is a widely used video compression format. It provides excellent quality at manageable file sizes, perfect for marketing content and tutorials.
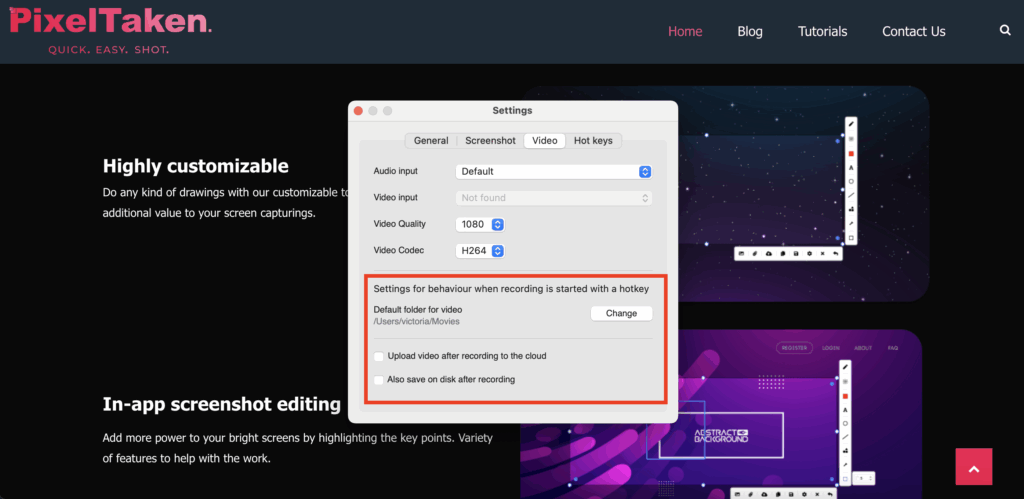
Behavior Settings
These define what happens after screen recording begins or ends:
- Default folder for video:
/Users/victoria/Movies
— This is the path where all recorded videos are automatically saved unless changed. - Upload video after recording to the cloud
— If checked, videos are automatically uploaded to cloud storage after recording finishes. - Also, save on disk after recording
— When enabled, a local copy of the recording is saved even if it’s uploaded to the cloud.
This “Video” tab is perfect for users who want quick control over recording quality and workflow automation, whether you’re creating demo videos, tutorials, or capturing promotional content.
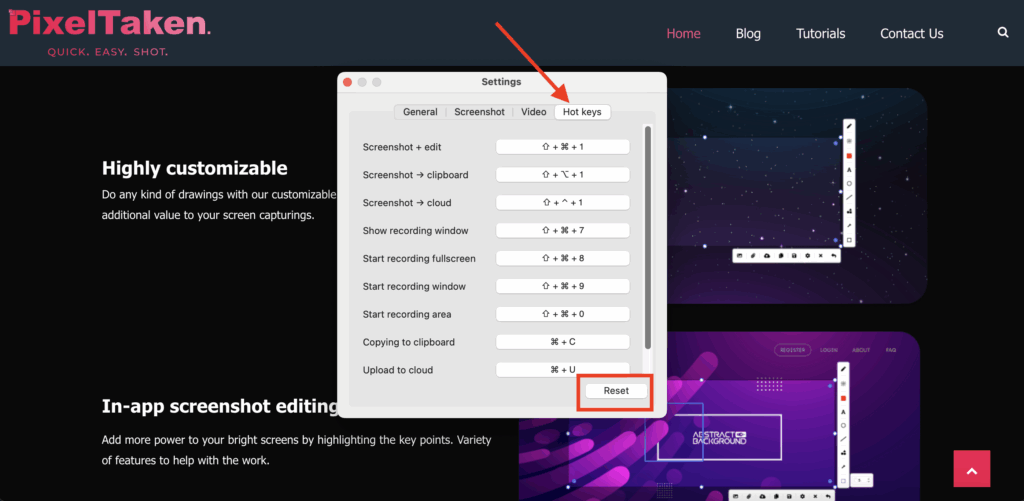
4. Set or Change Hotkeys
You can also set your hotkeys for main actions.
4.1 Navigate to the “Hot key” section
4.2 Click on the hotkey to remove it, then click the “Enter a new hotkey” button next to the action you want to customise.
4.3 Press the desired new key on the keyboard (like a single key PrtSc)
4.4 You can also set a combination of keys (like Shift + C). Click both keys you want to use together as a combination.
Once the new hotkey is set, it will immediately replace the previous one. You can always change it again by clicking “Enter a new hotkey” and selecting a new one or reset everything by clicking the Reset button.
By customising these settings, you not only save time but also ensure consistency and comfort in your screenshot workflow, especially helpful if you regularly work with multi-monitor setups.