1. Sign up / Log in
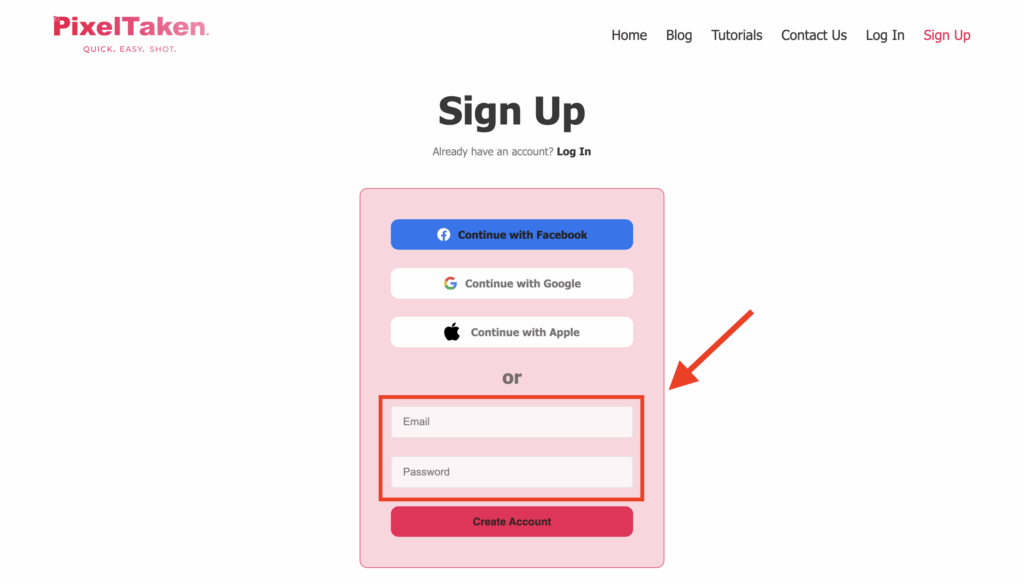
You can Sign up / Log in using your Facebook account, Google account or Apple Account.
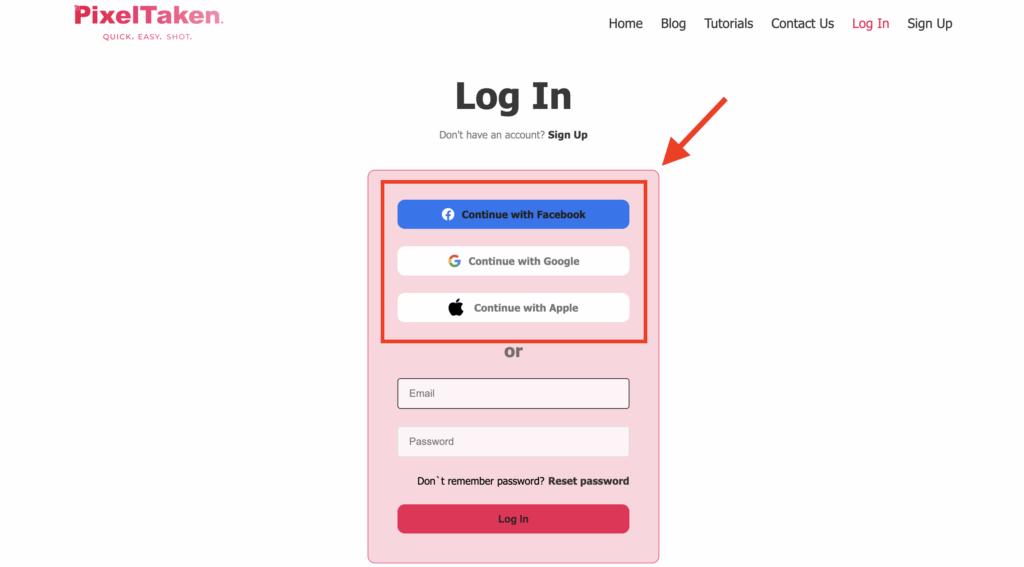
Additionally, you can create an account using an email address and a password.
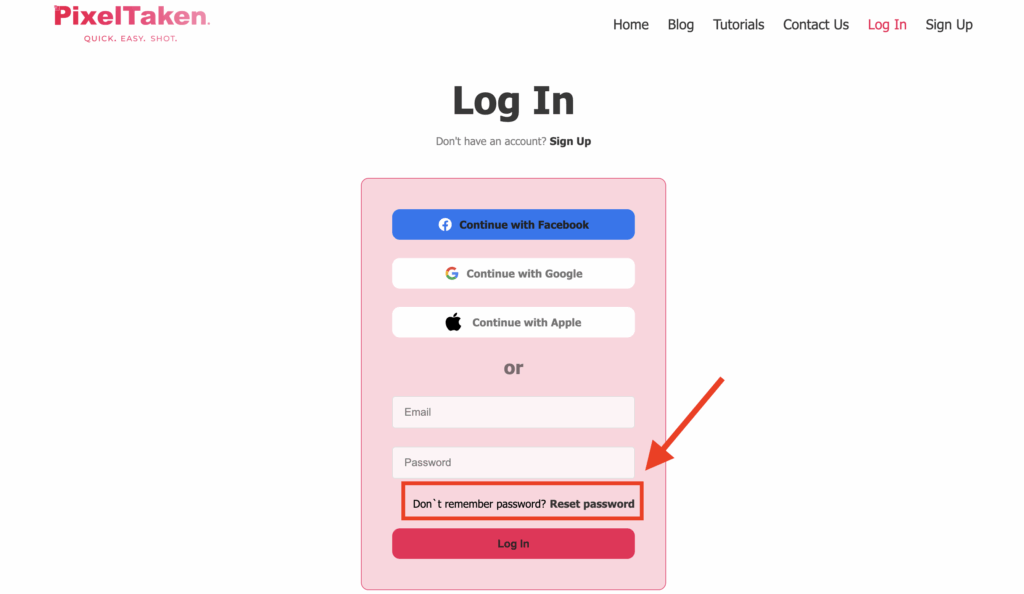
If you’ve forgotten your password, you can reset it.
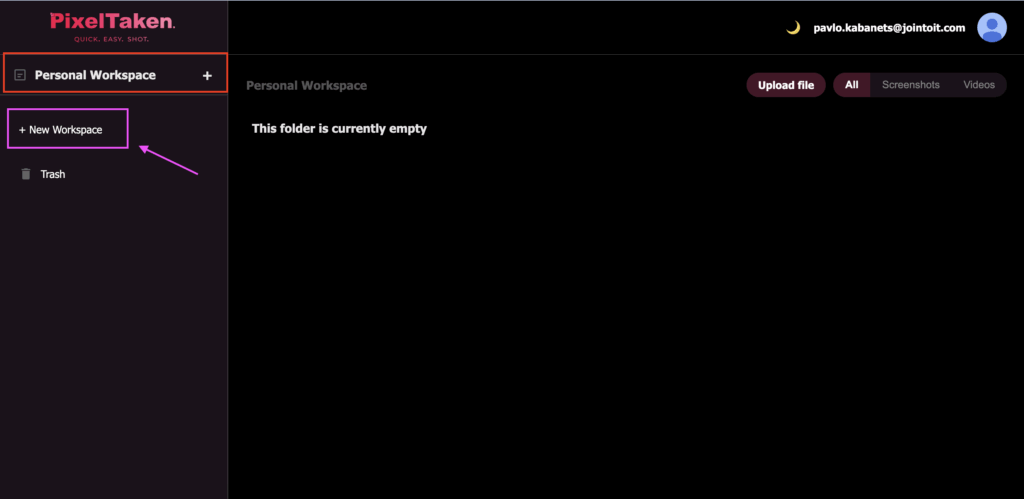
2. Creating Workspace
By default, a Personal Workspace is available, but you can also create a new one.
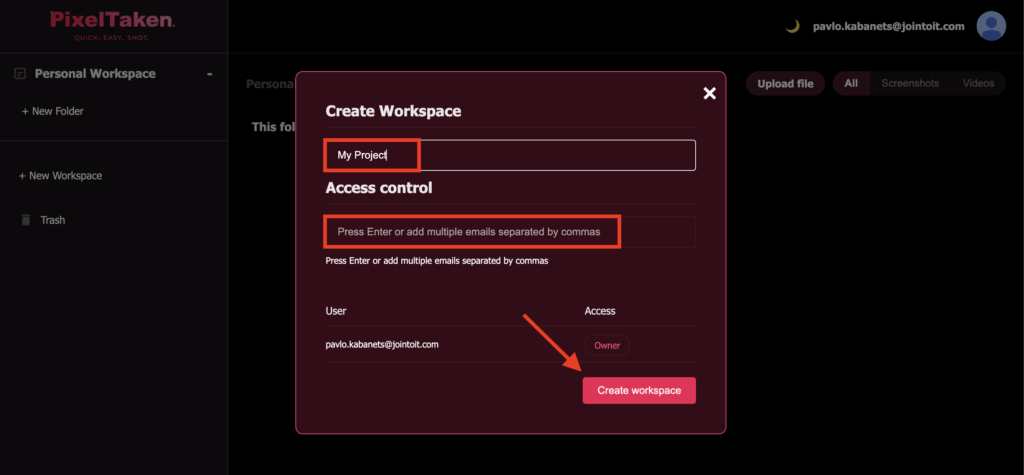
You need to fill in the required fields with the name of the new workspace and specify the email address of the user you want to share this workspace with, and then save the information.
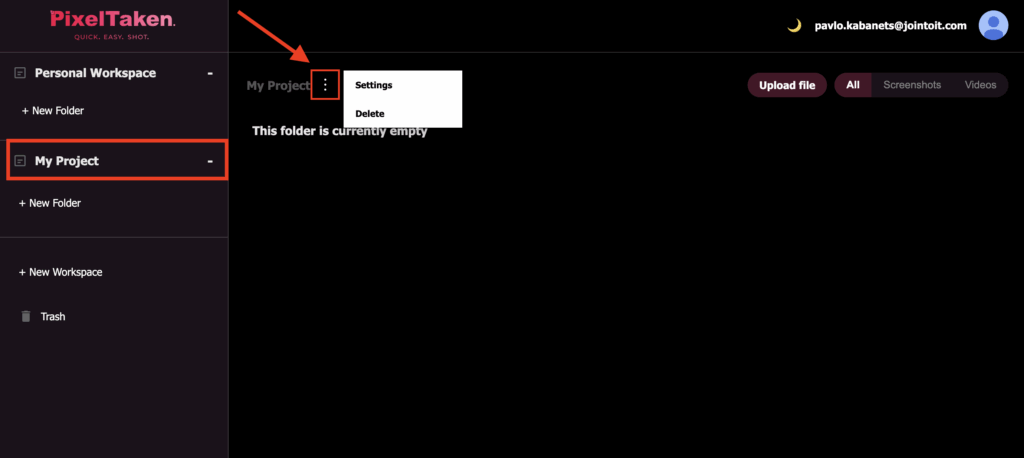
If you change your mind and want to edit the name of the workspace or delete it altogether, click on the 3 dots and select the appropriate action.
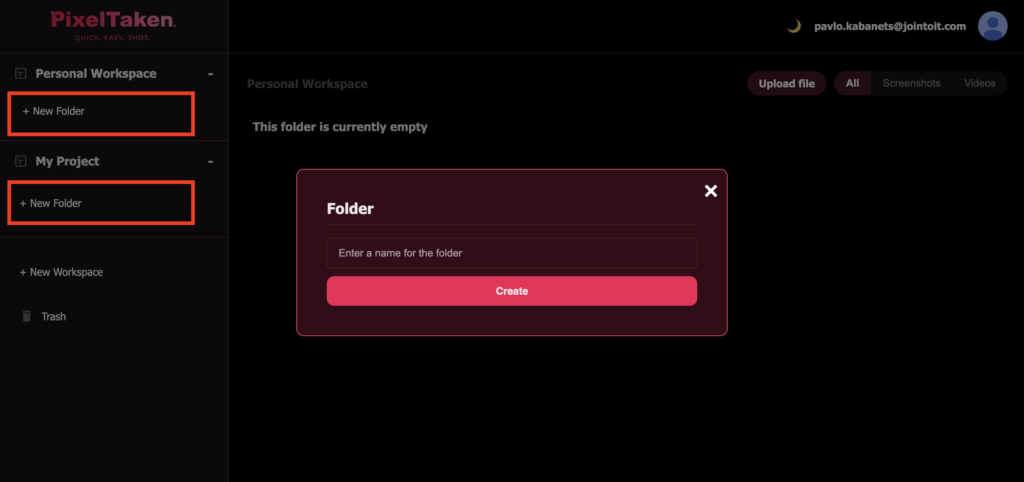
3. Creating separate folders
In each workspace, you can create separate folders, allowing you to sort the necessary content into distinct folders, which is very convenient.
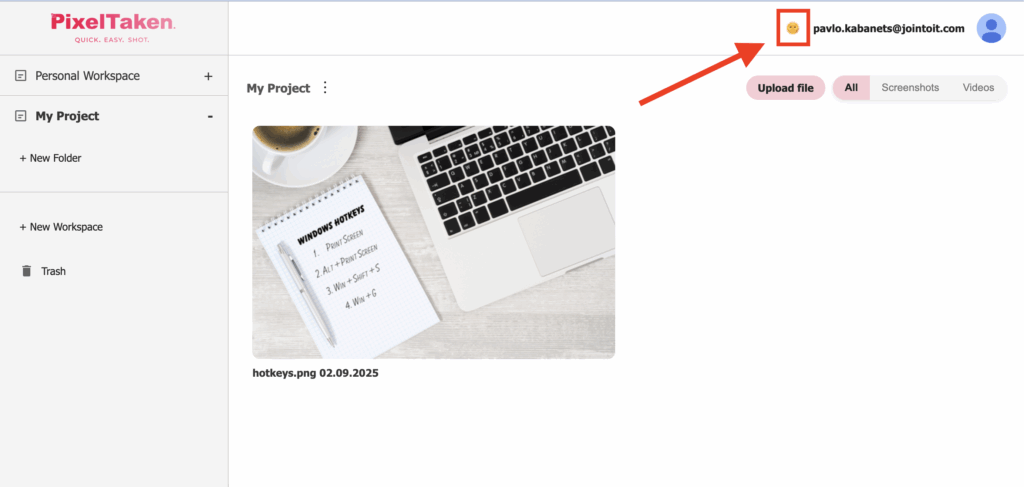
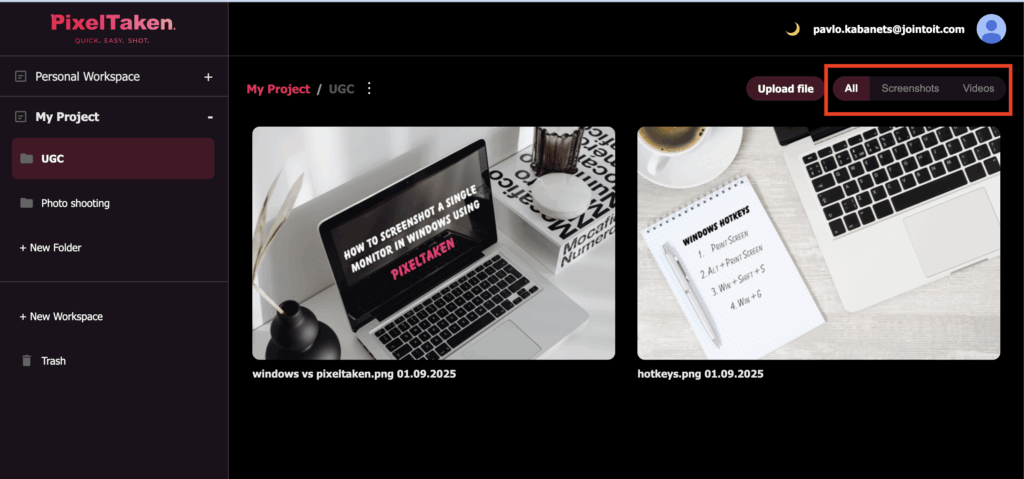
4. How to use the gallery
Users who log in to the Pixeltaken app will see their screenshots and videos in the gallery if they select “upload to cloud”.
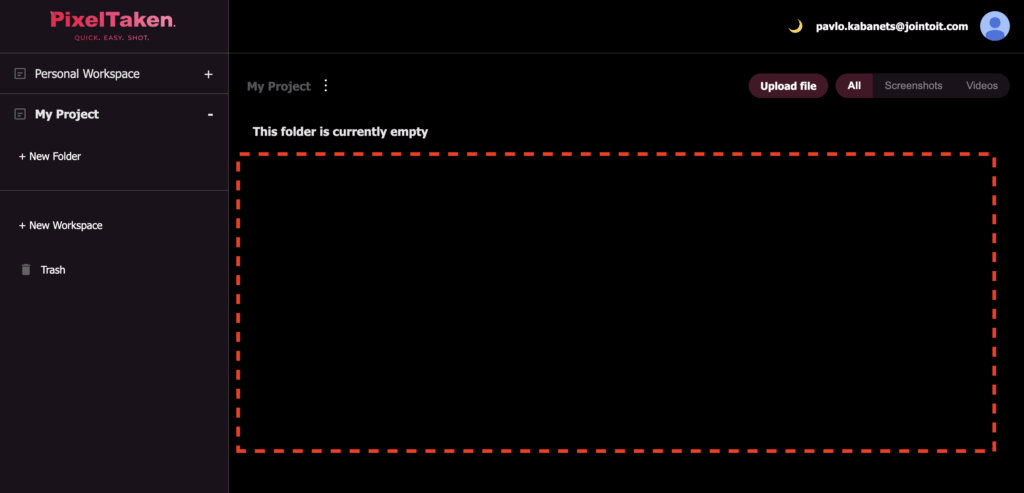
In the upper right corner, there is an option to sort the content into only videos or only screenshots or everything together.
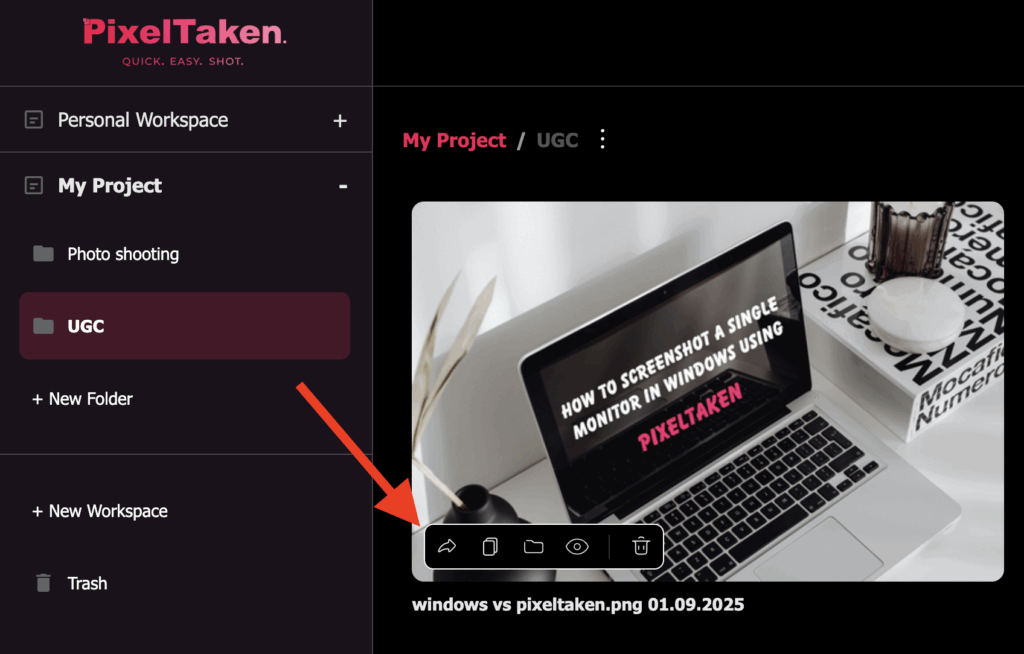
5. Additional features with uploaded content
If you hover over the image or video you’ve uploaded, additional functions will appear:
- share on social networks
- copy the link to the image
- transferring the image or video into the workspace folders
- the ability to show or not the image/video to other users via the link
- delete
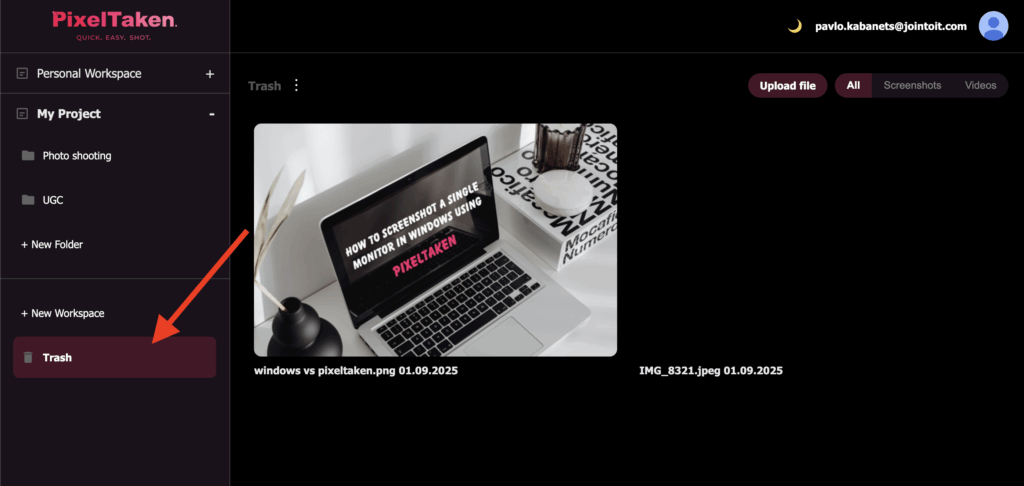
Any image or video can be deleted and will be displayed in the Trash section. You can also completely clear this section of unnecessary content.
You can also switch from the dark mode screen to the light mode screen.